Building a Moodboard with Olive & Belle Events

In a world with Pinterest, have you caught yourself losing focus on what you envision for your wedding day? We’re here to help make your wedding feel a little more like you! So you’ve pinned thousands of ideas -- now what?! We’re going to break down the moodboard building process so your visions can go from been-there-done-that to omg-this-feels-like-us!

1.     Choose colors. When selecting colors, keep both you and your partner’s preferences in mind. A good way to do so is by taking note of the color in your home and closet. There are no rules to how many colors you should select, but we think it’s best to start simple and grow from there. Start by selecting 2-3 main colors and 1-2 accent colors. It’s always important include neutrals within the palette, too!

mood board wedding

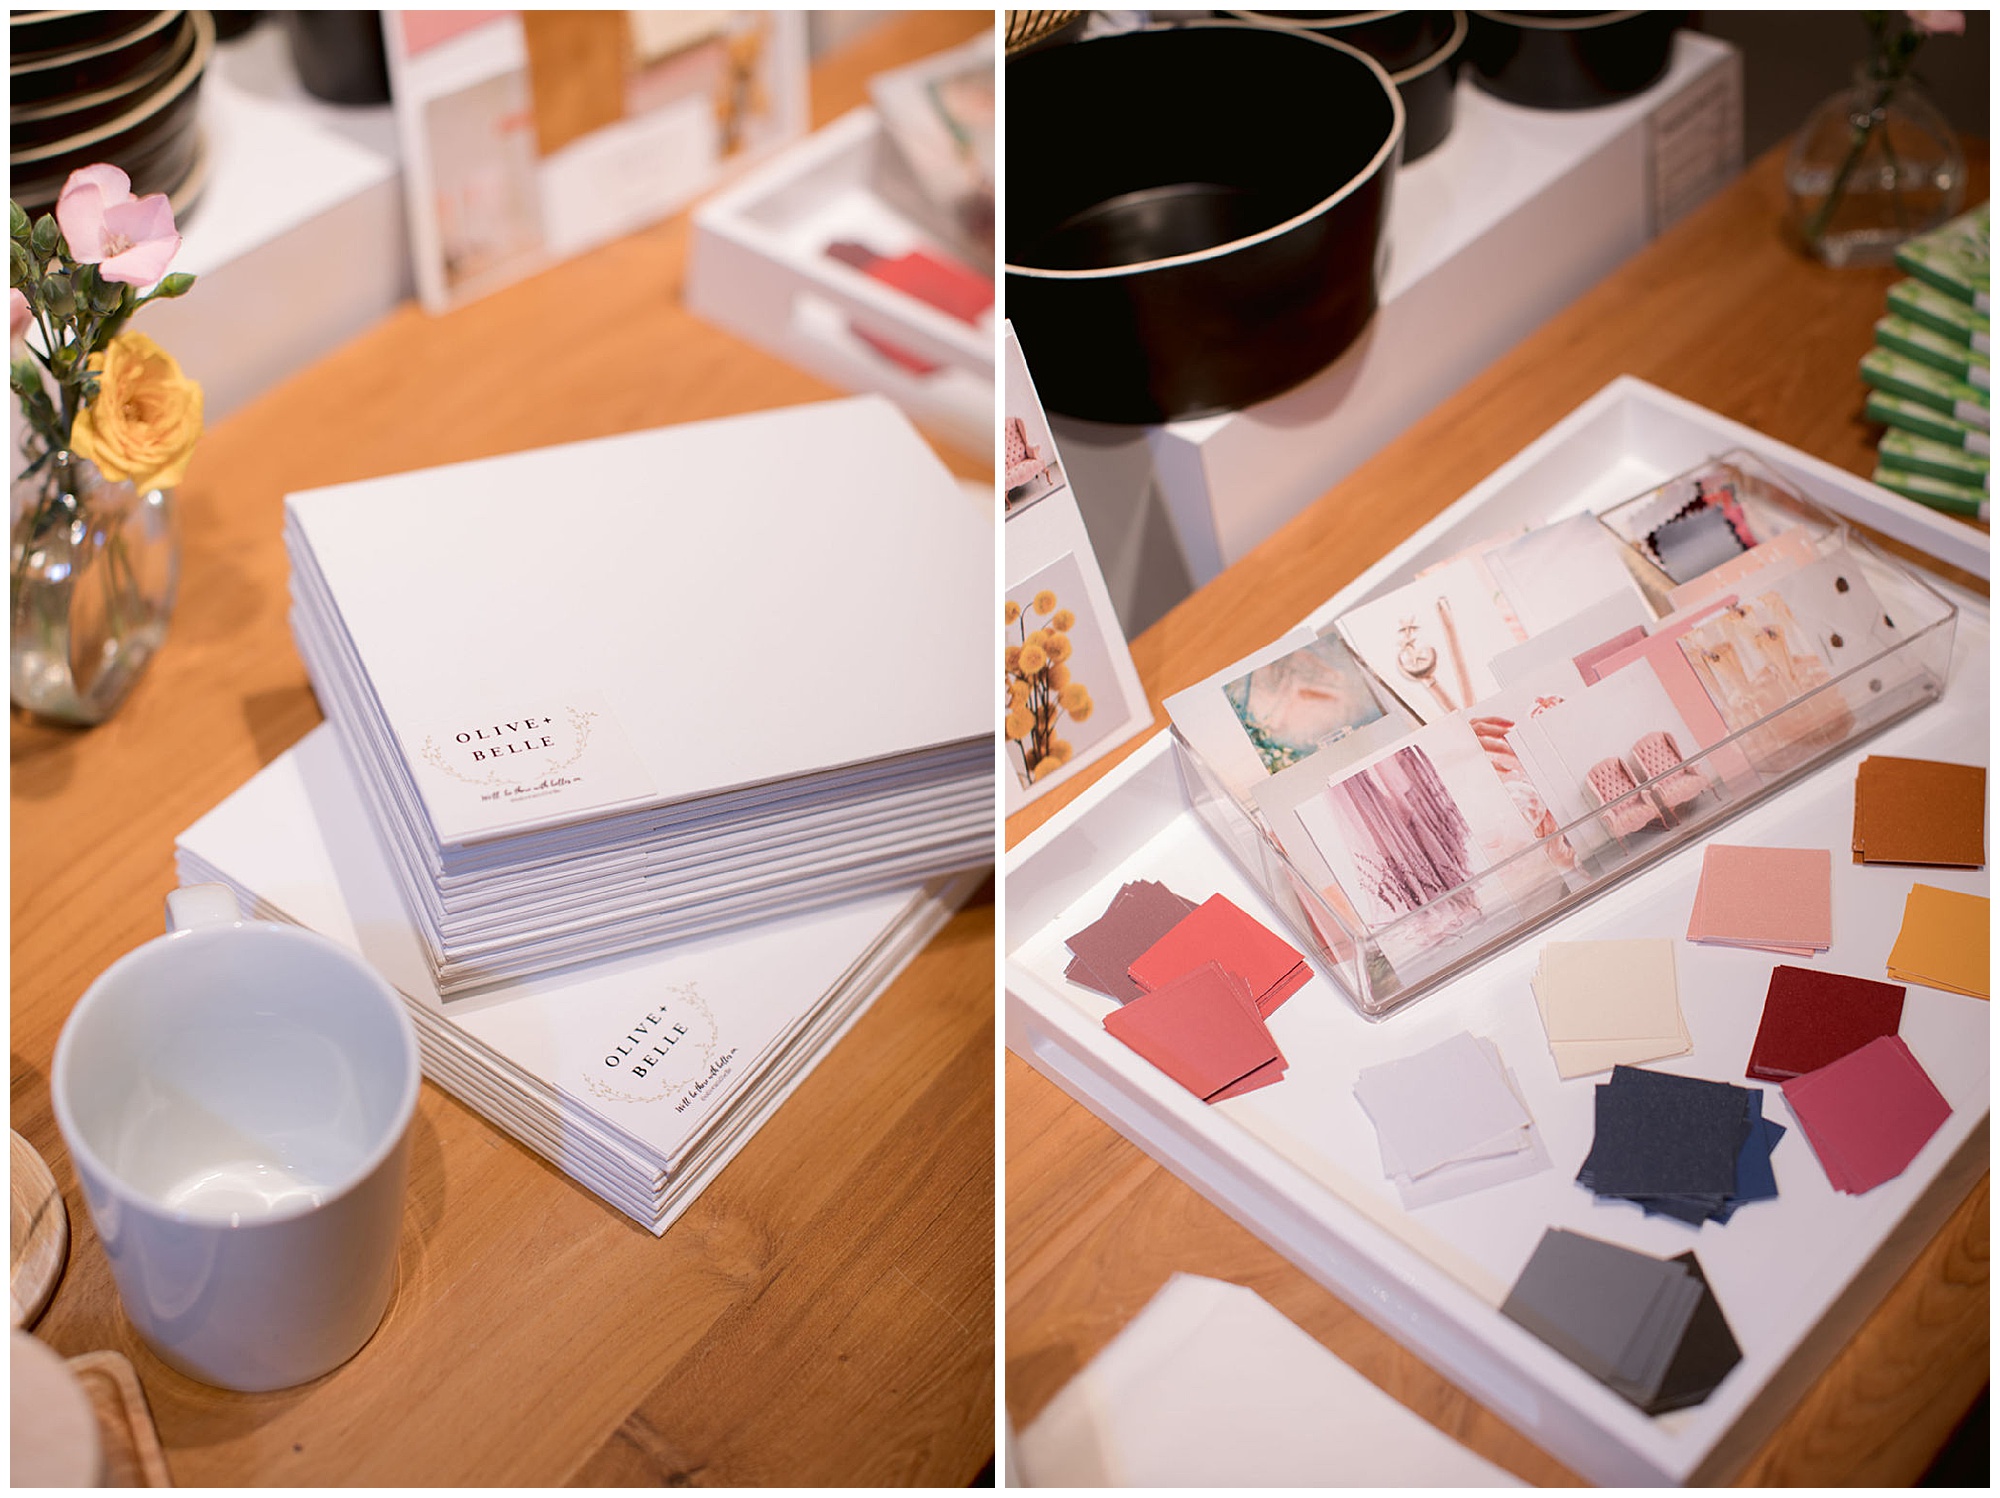
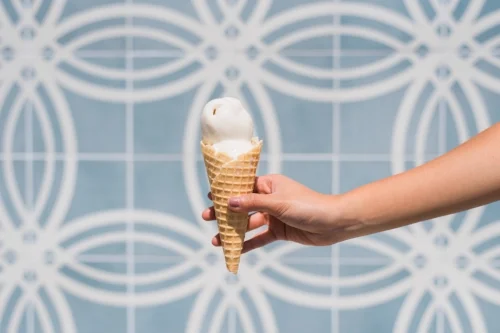
2.     Gather non-wedding inspiration images. These can include interiors, patterns, textures, street style, art...anything! Choose images that inspire you and fit within your color palette. Take specific note of the way the images make you feel and start to understand what it is that attracts you to the photo. This can help when selecting vendors that match your style later on.

 3.     Select a few wedding inspiration images. Your wedding should reflect you and your partner, so keep in mind these are simply for inspiration and not to take exact ideas. You want to keep your moodboard pretty general in this way since the focus is on an overall feeling, so try not to get too caught up in specifics. Think about the feelings, photography, colors, and expressions when selecting wedding-related images. If you have your heart set on something specific, though, go ahead add it!

pinterest wedding

 4.     Choose fonts. Be as picky as possible! Look for a font that combines both you and your partner’s style while reflecting the kind of impression you want to give to your guests. This font will help set the tone of the event and can be used on all stationary goods and signage. Are you hosting a more formal event? Look for a serif or cursive font. Going for a more casual or laid-back vibe? Sans serif is a good way to go!

 5.     The final step is our absolute favorite! Add personal verbiage. Take parts of your love story and turn them into phrases. Pay close attention to the words you select so that they match your vibe. Thesaurus.com is your best friend here! If you’re having a hard time articulating your love story into words, start by doing a brain dump! Write down all inside jokes, significant locations, major milestones, and the timeline of your relationship.

Mood board

The finished product should be something you and your partner love! Hang it on your refrigerator and look at it everyday for a week or so. If there’s anything that bothers you when you look at it, make changes. Once you’ve decided you love everything about it, move forward in selecting vendors that align with your vibe and decor (and a photo booth backdrop, of course!) that complement your style. Sending your moodboard to vendors from the beginning can help both you and the vendor determine if you’re a good fit!

Guest blog written by Sydney at Olive and Belle Events

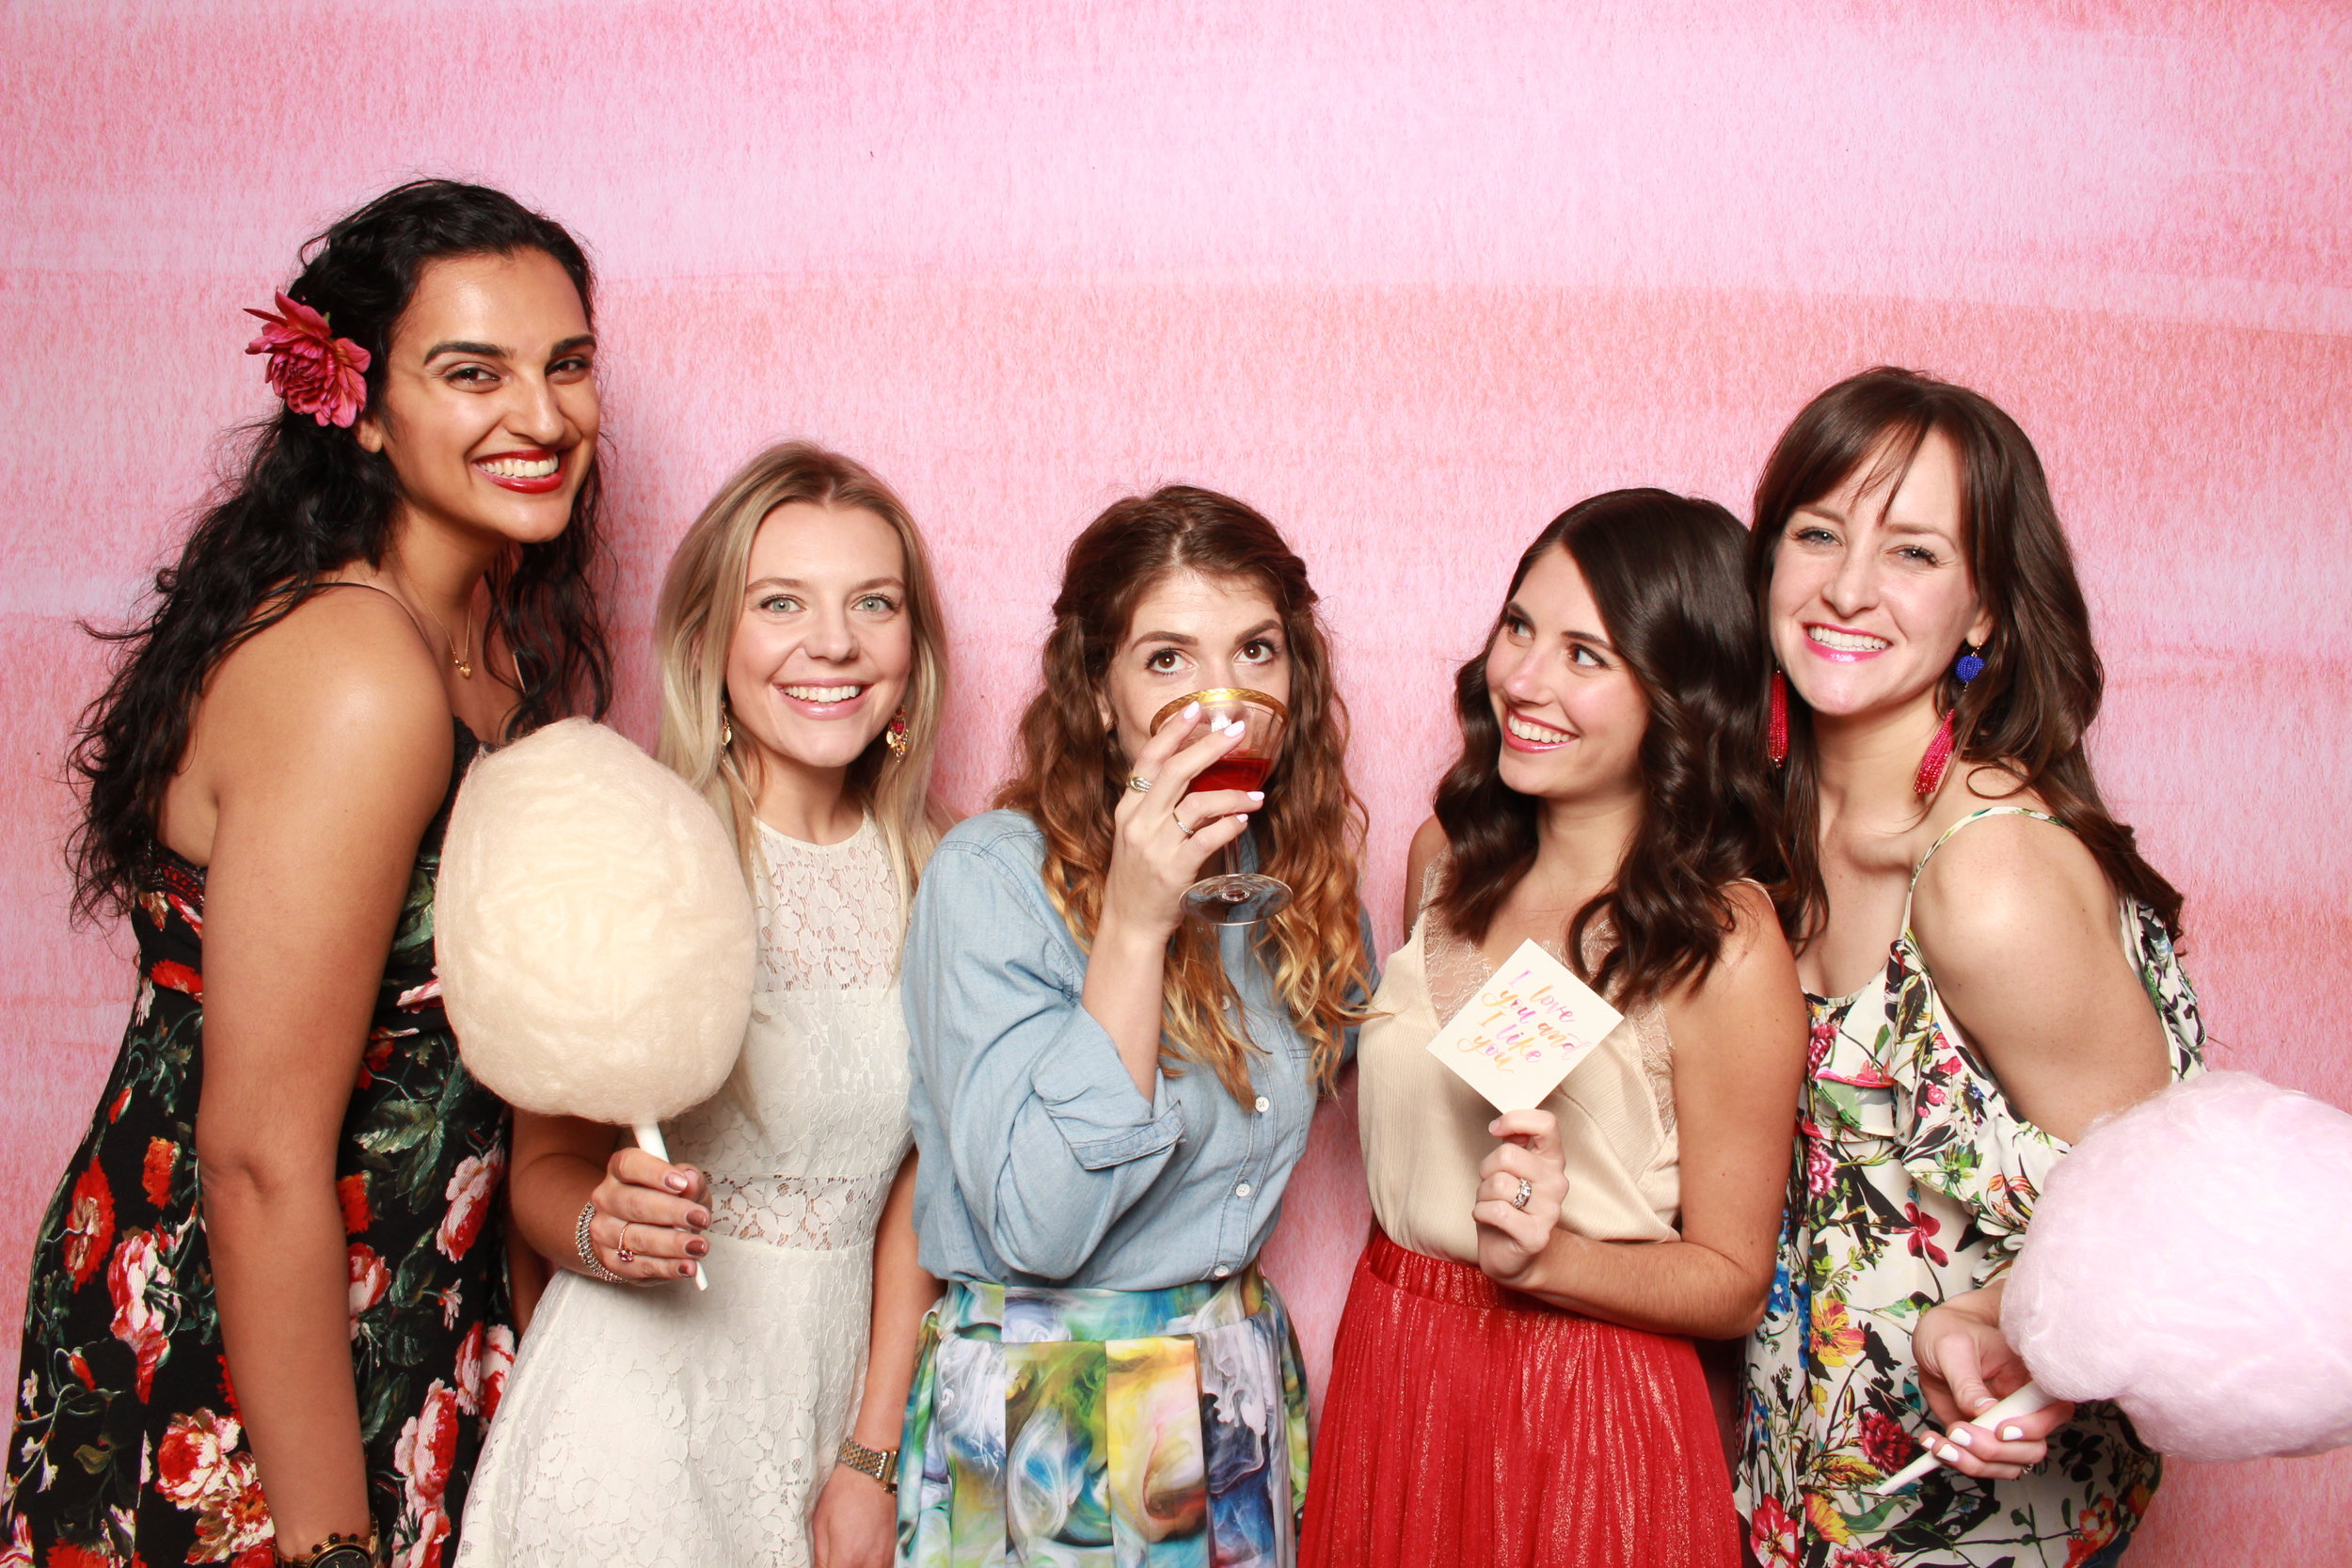
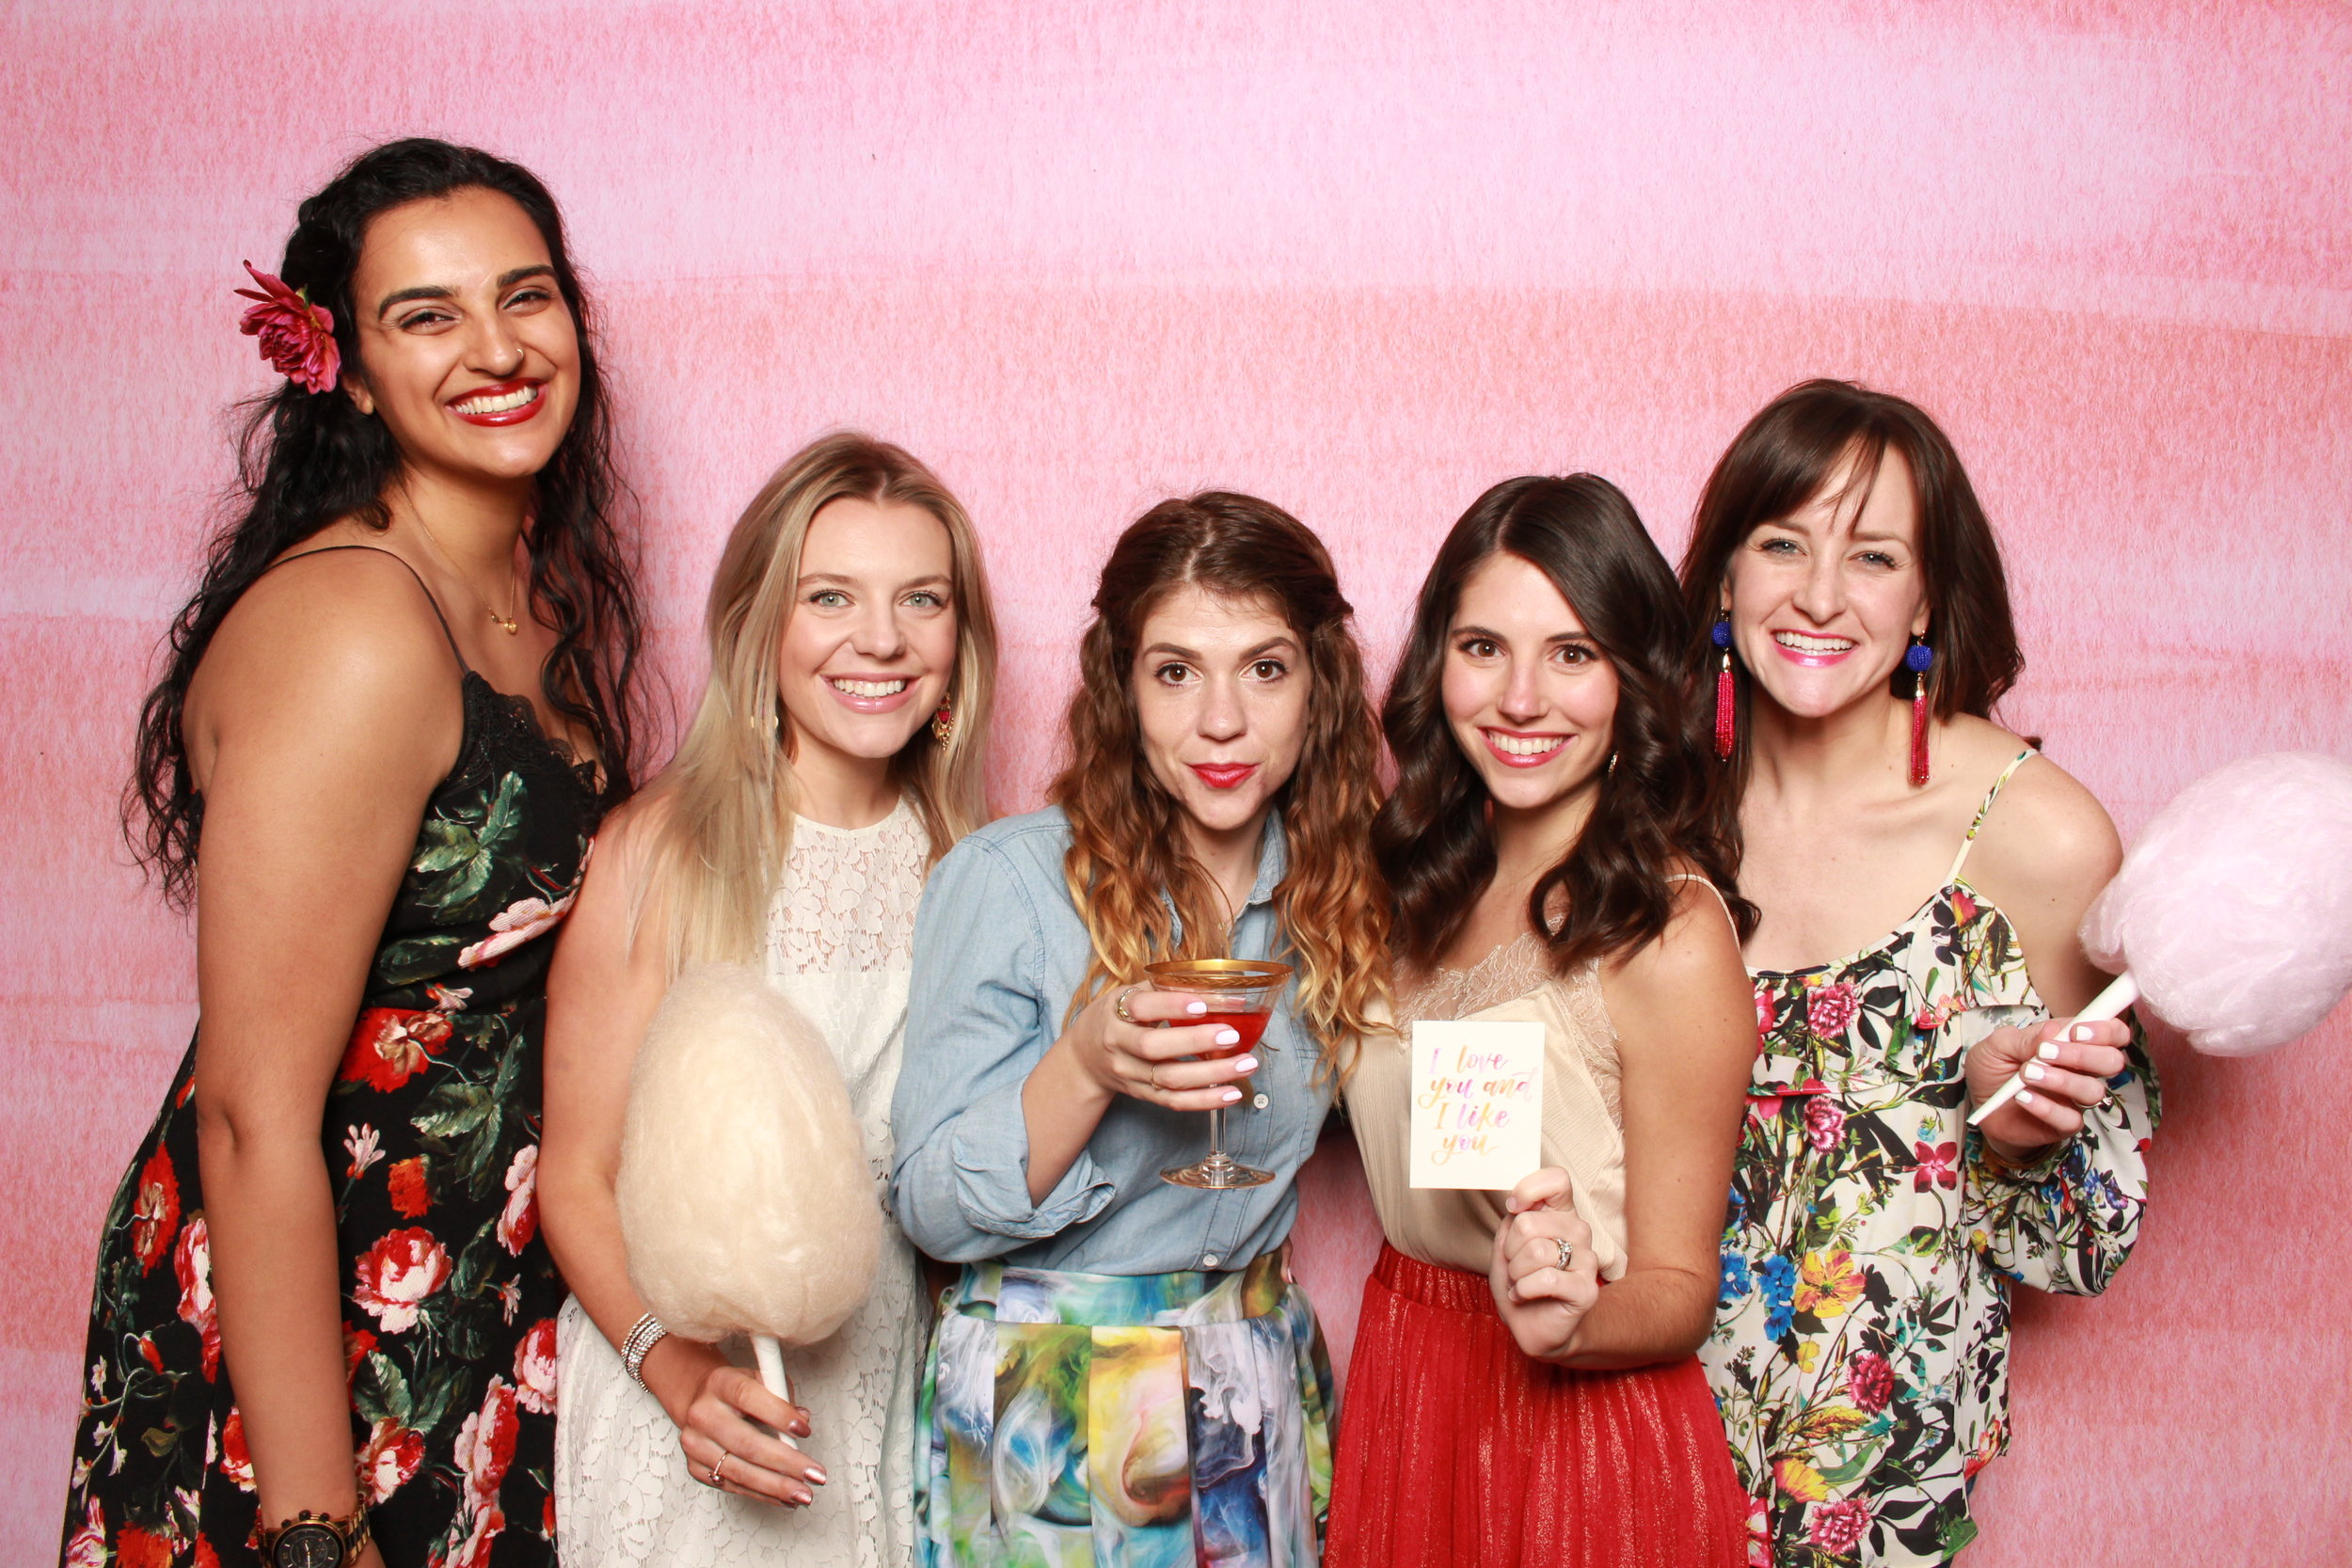
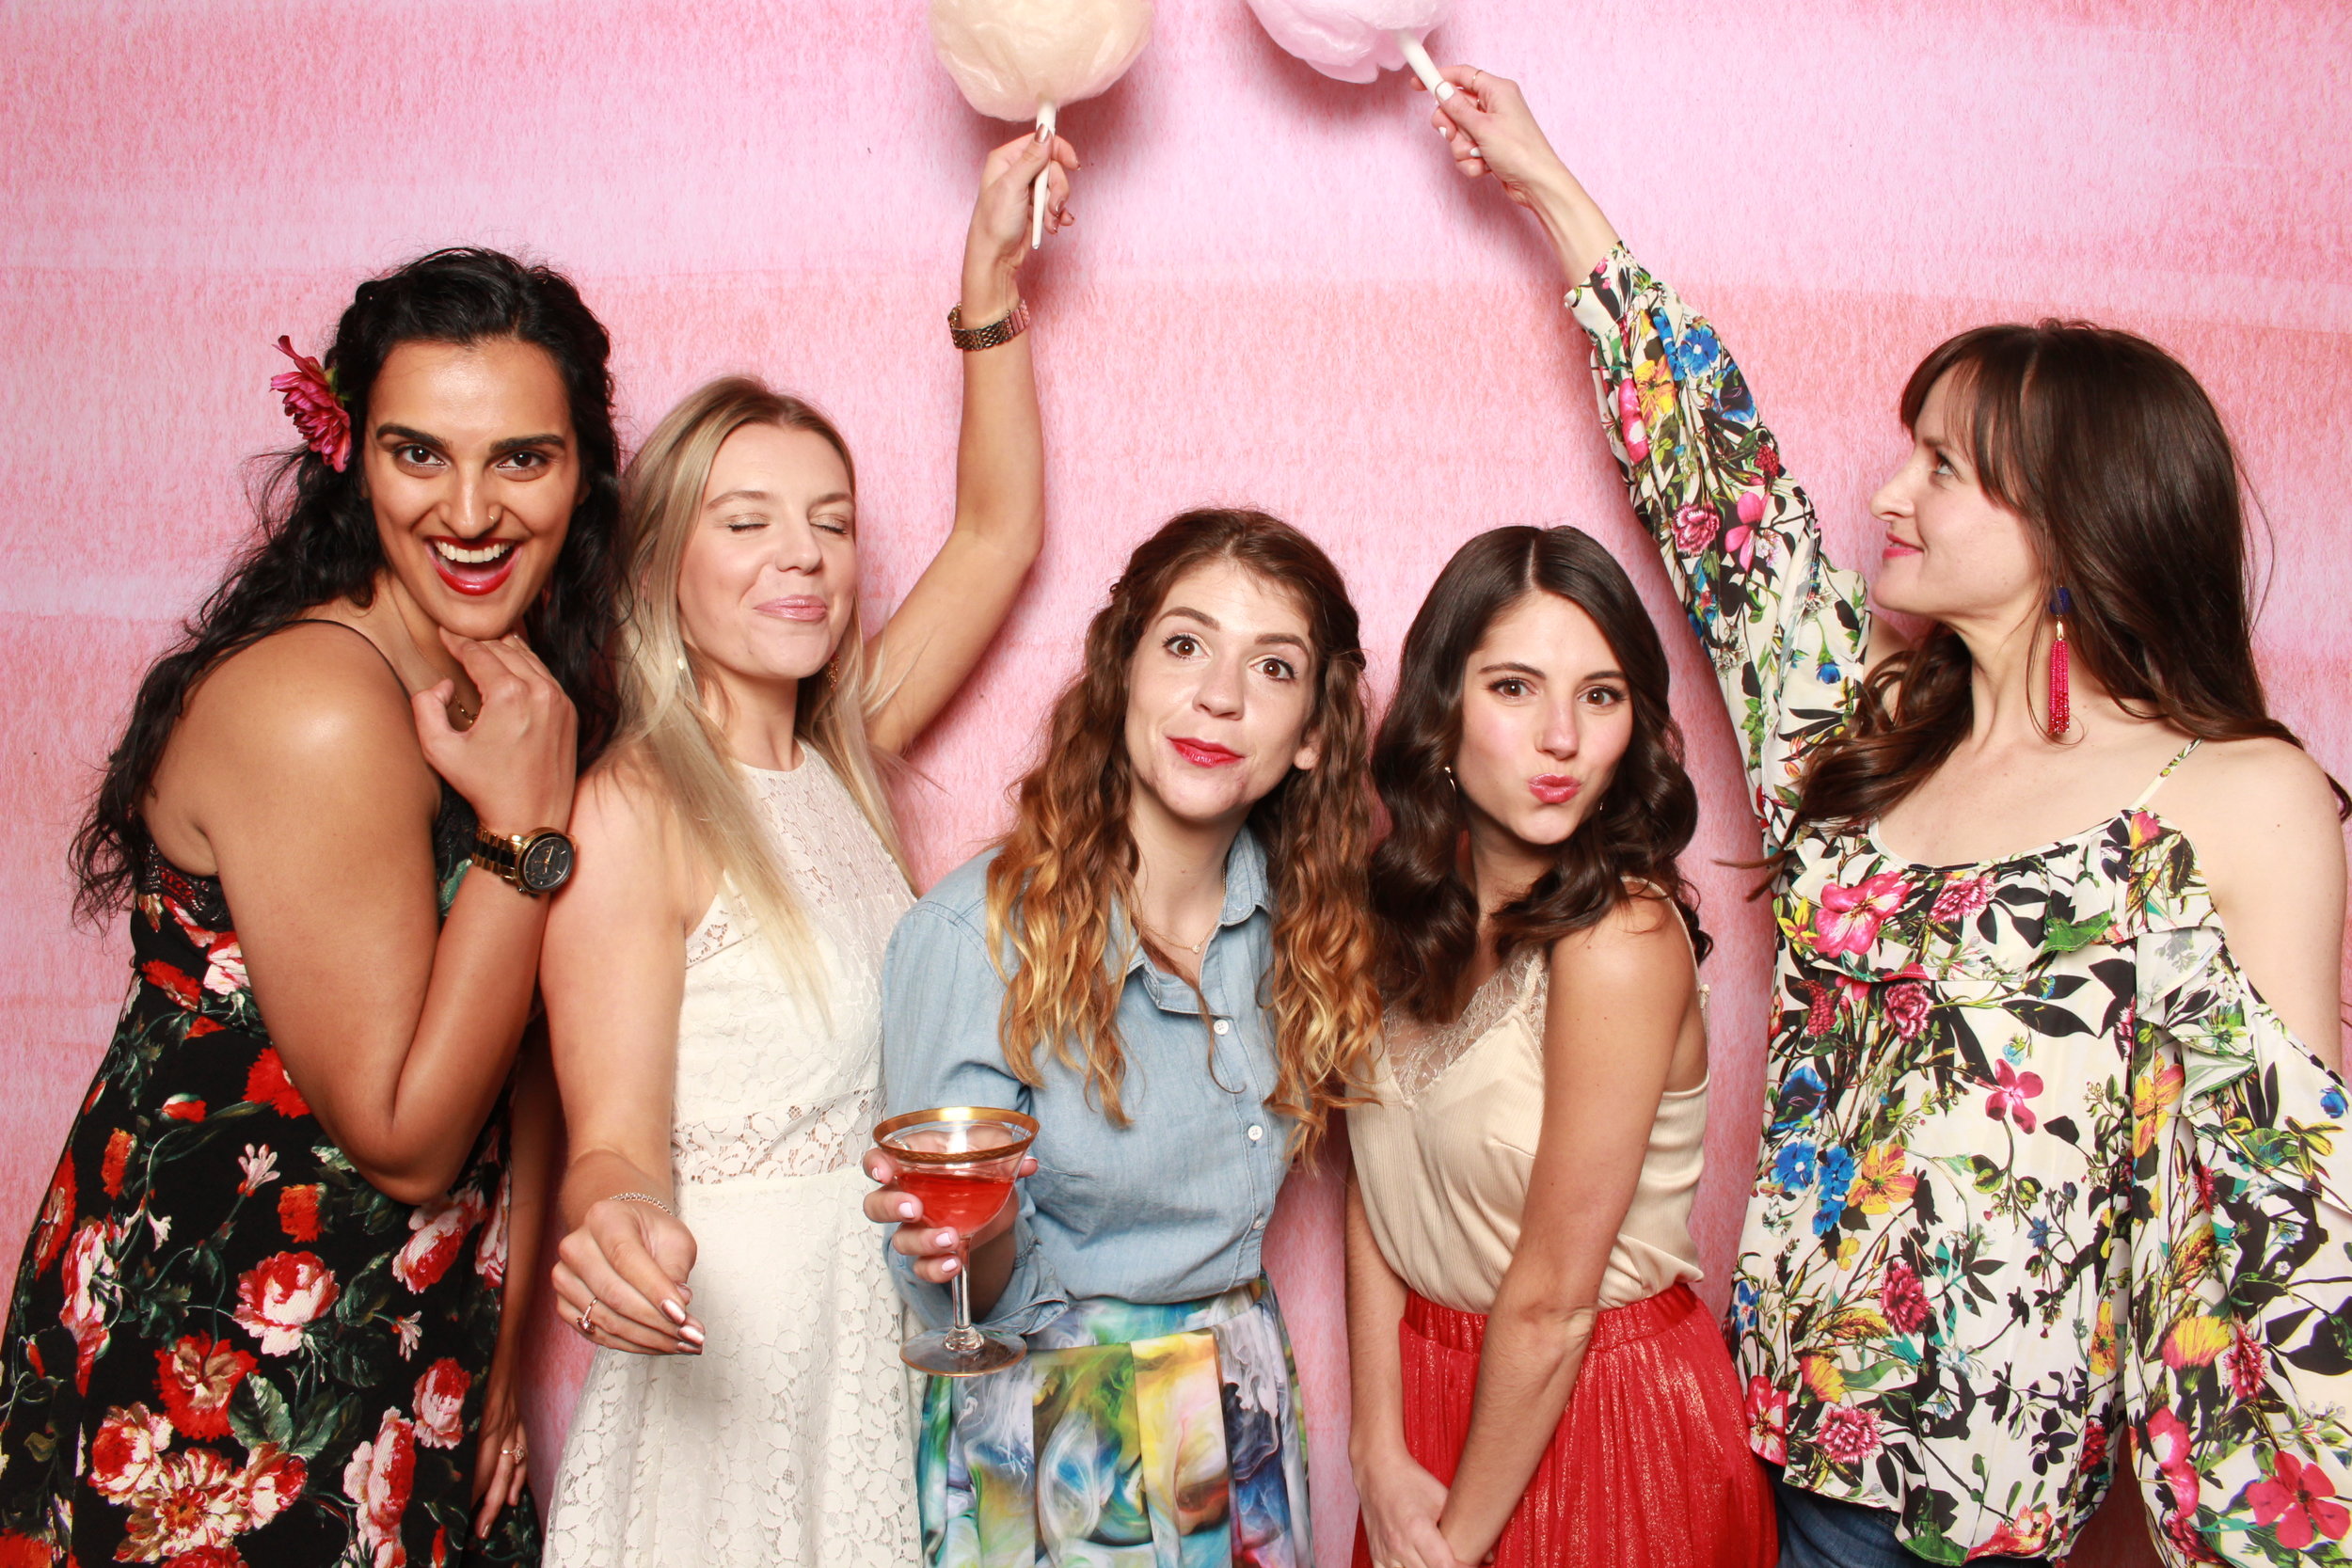
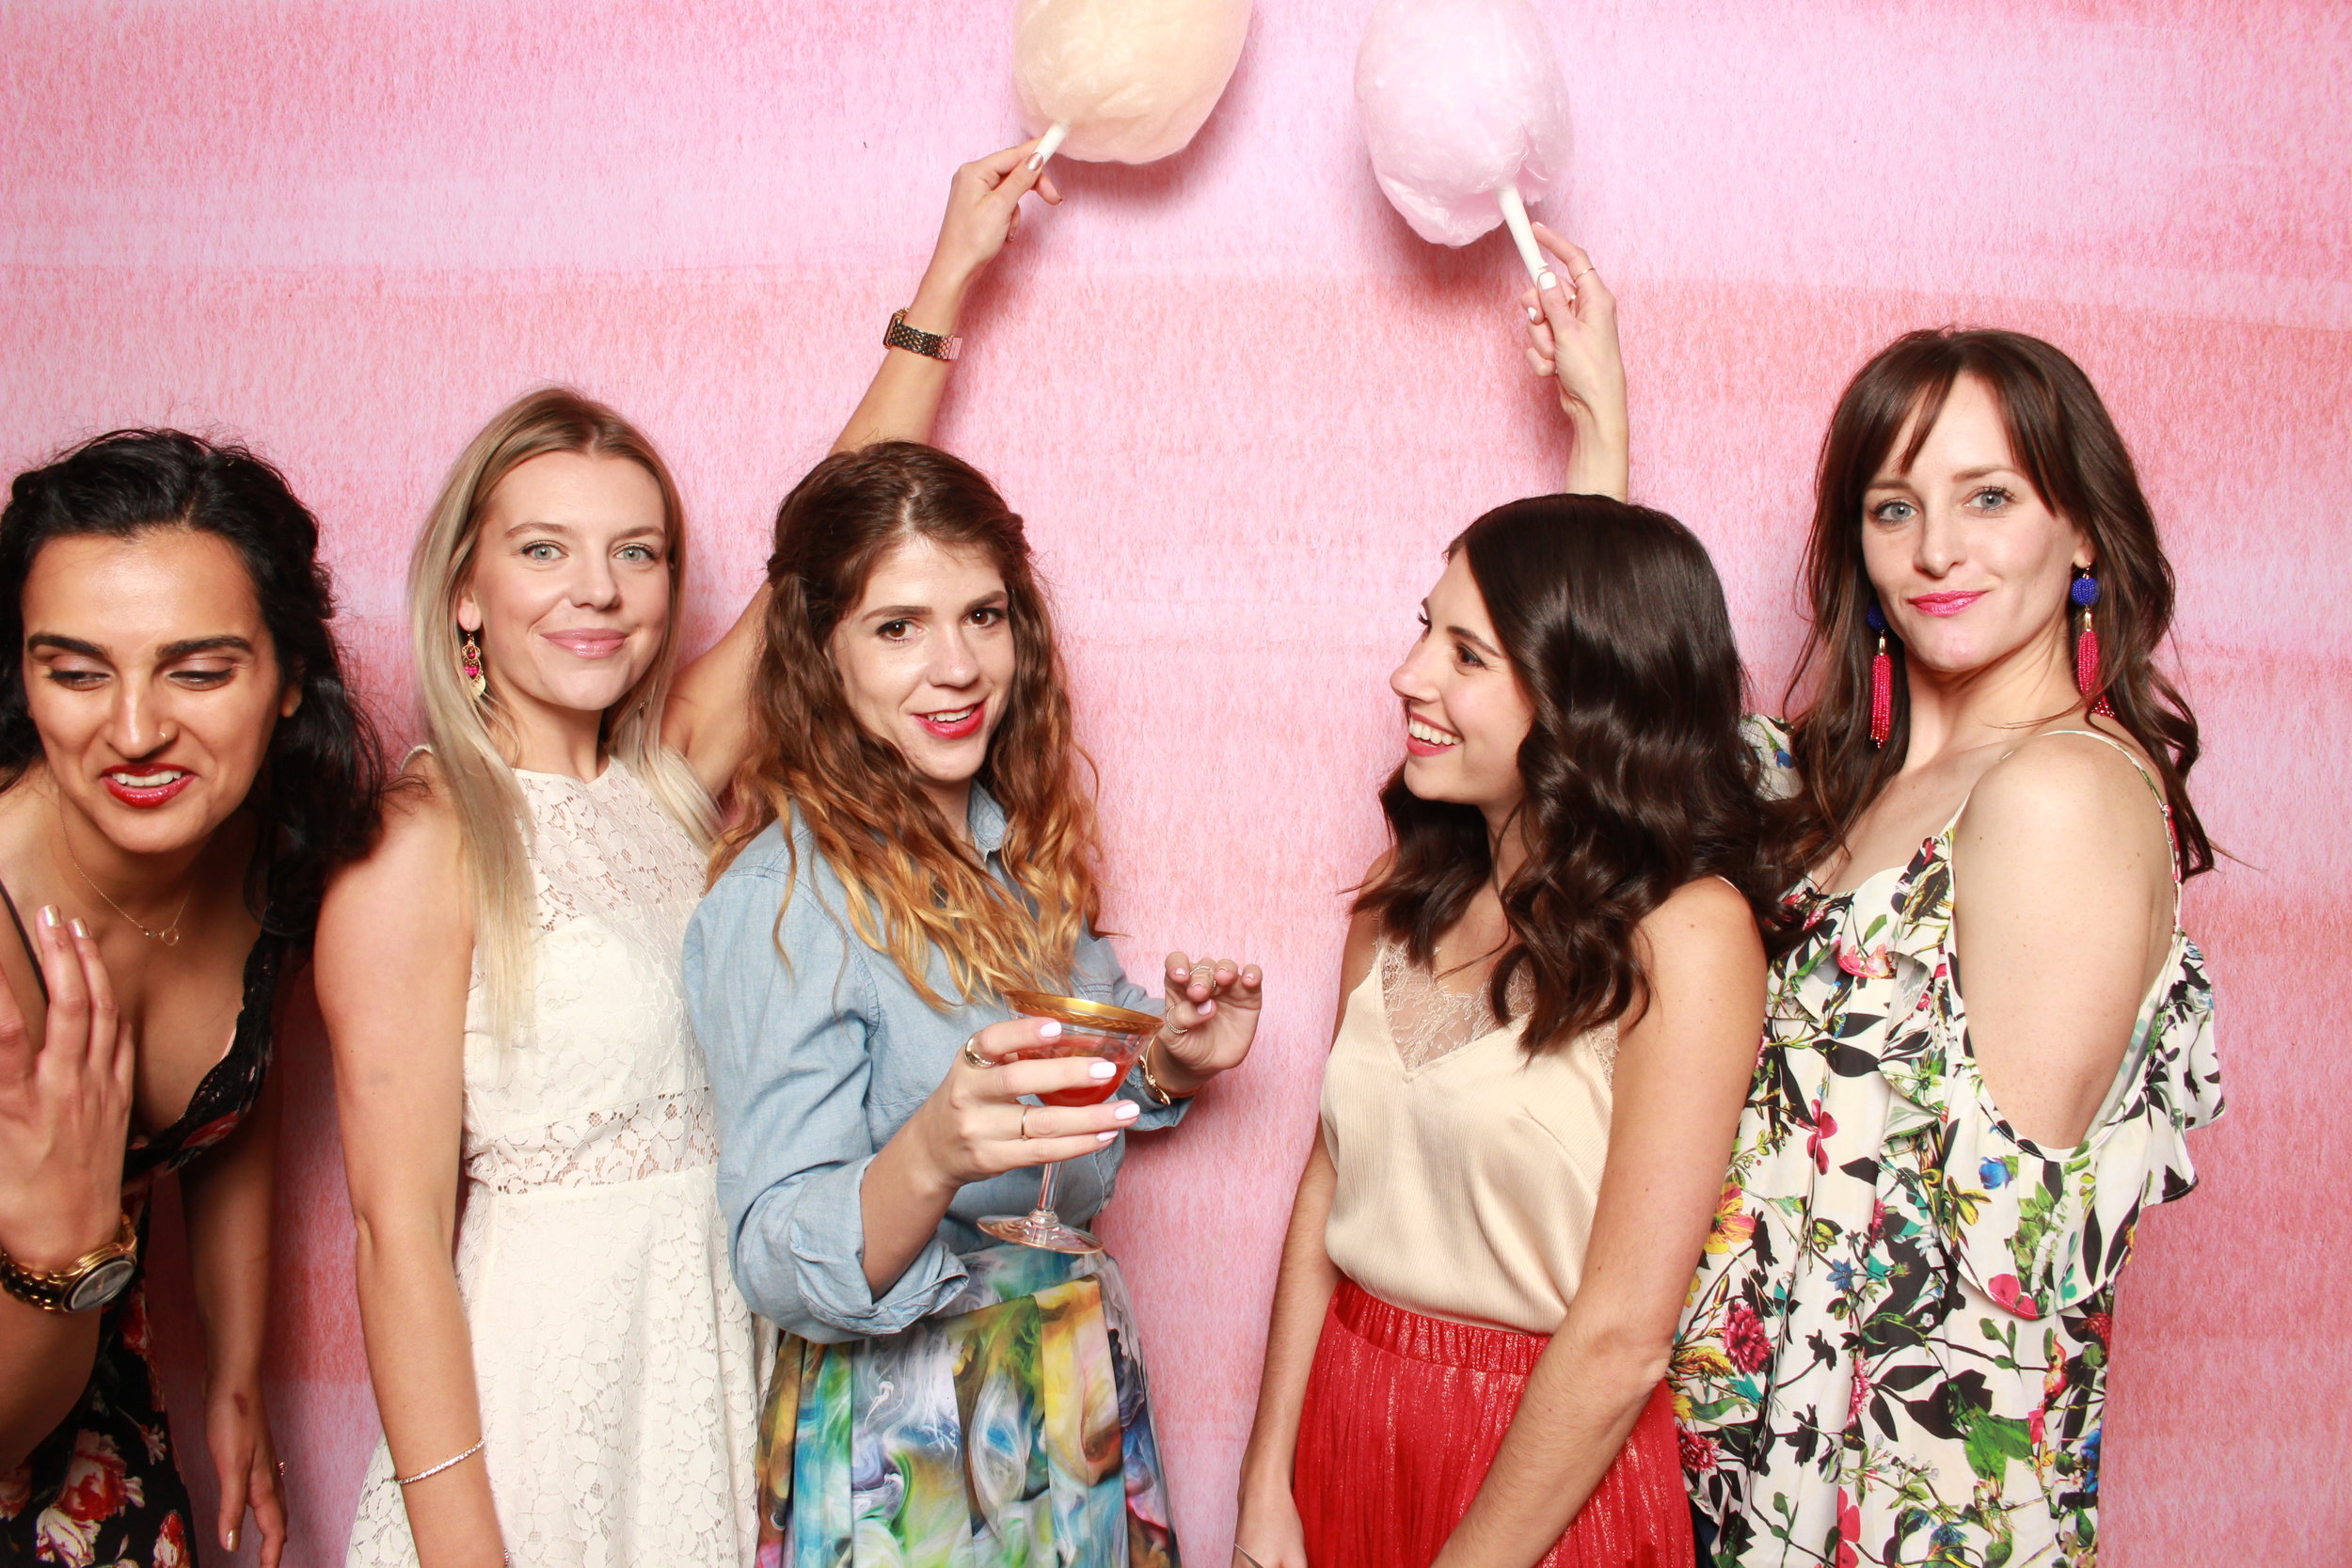
Photo credit: Honey Gem Creative

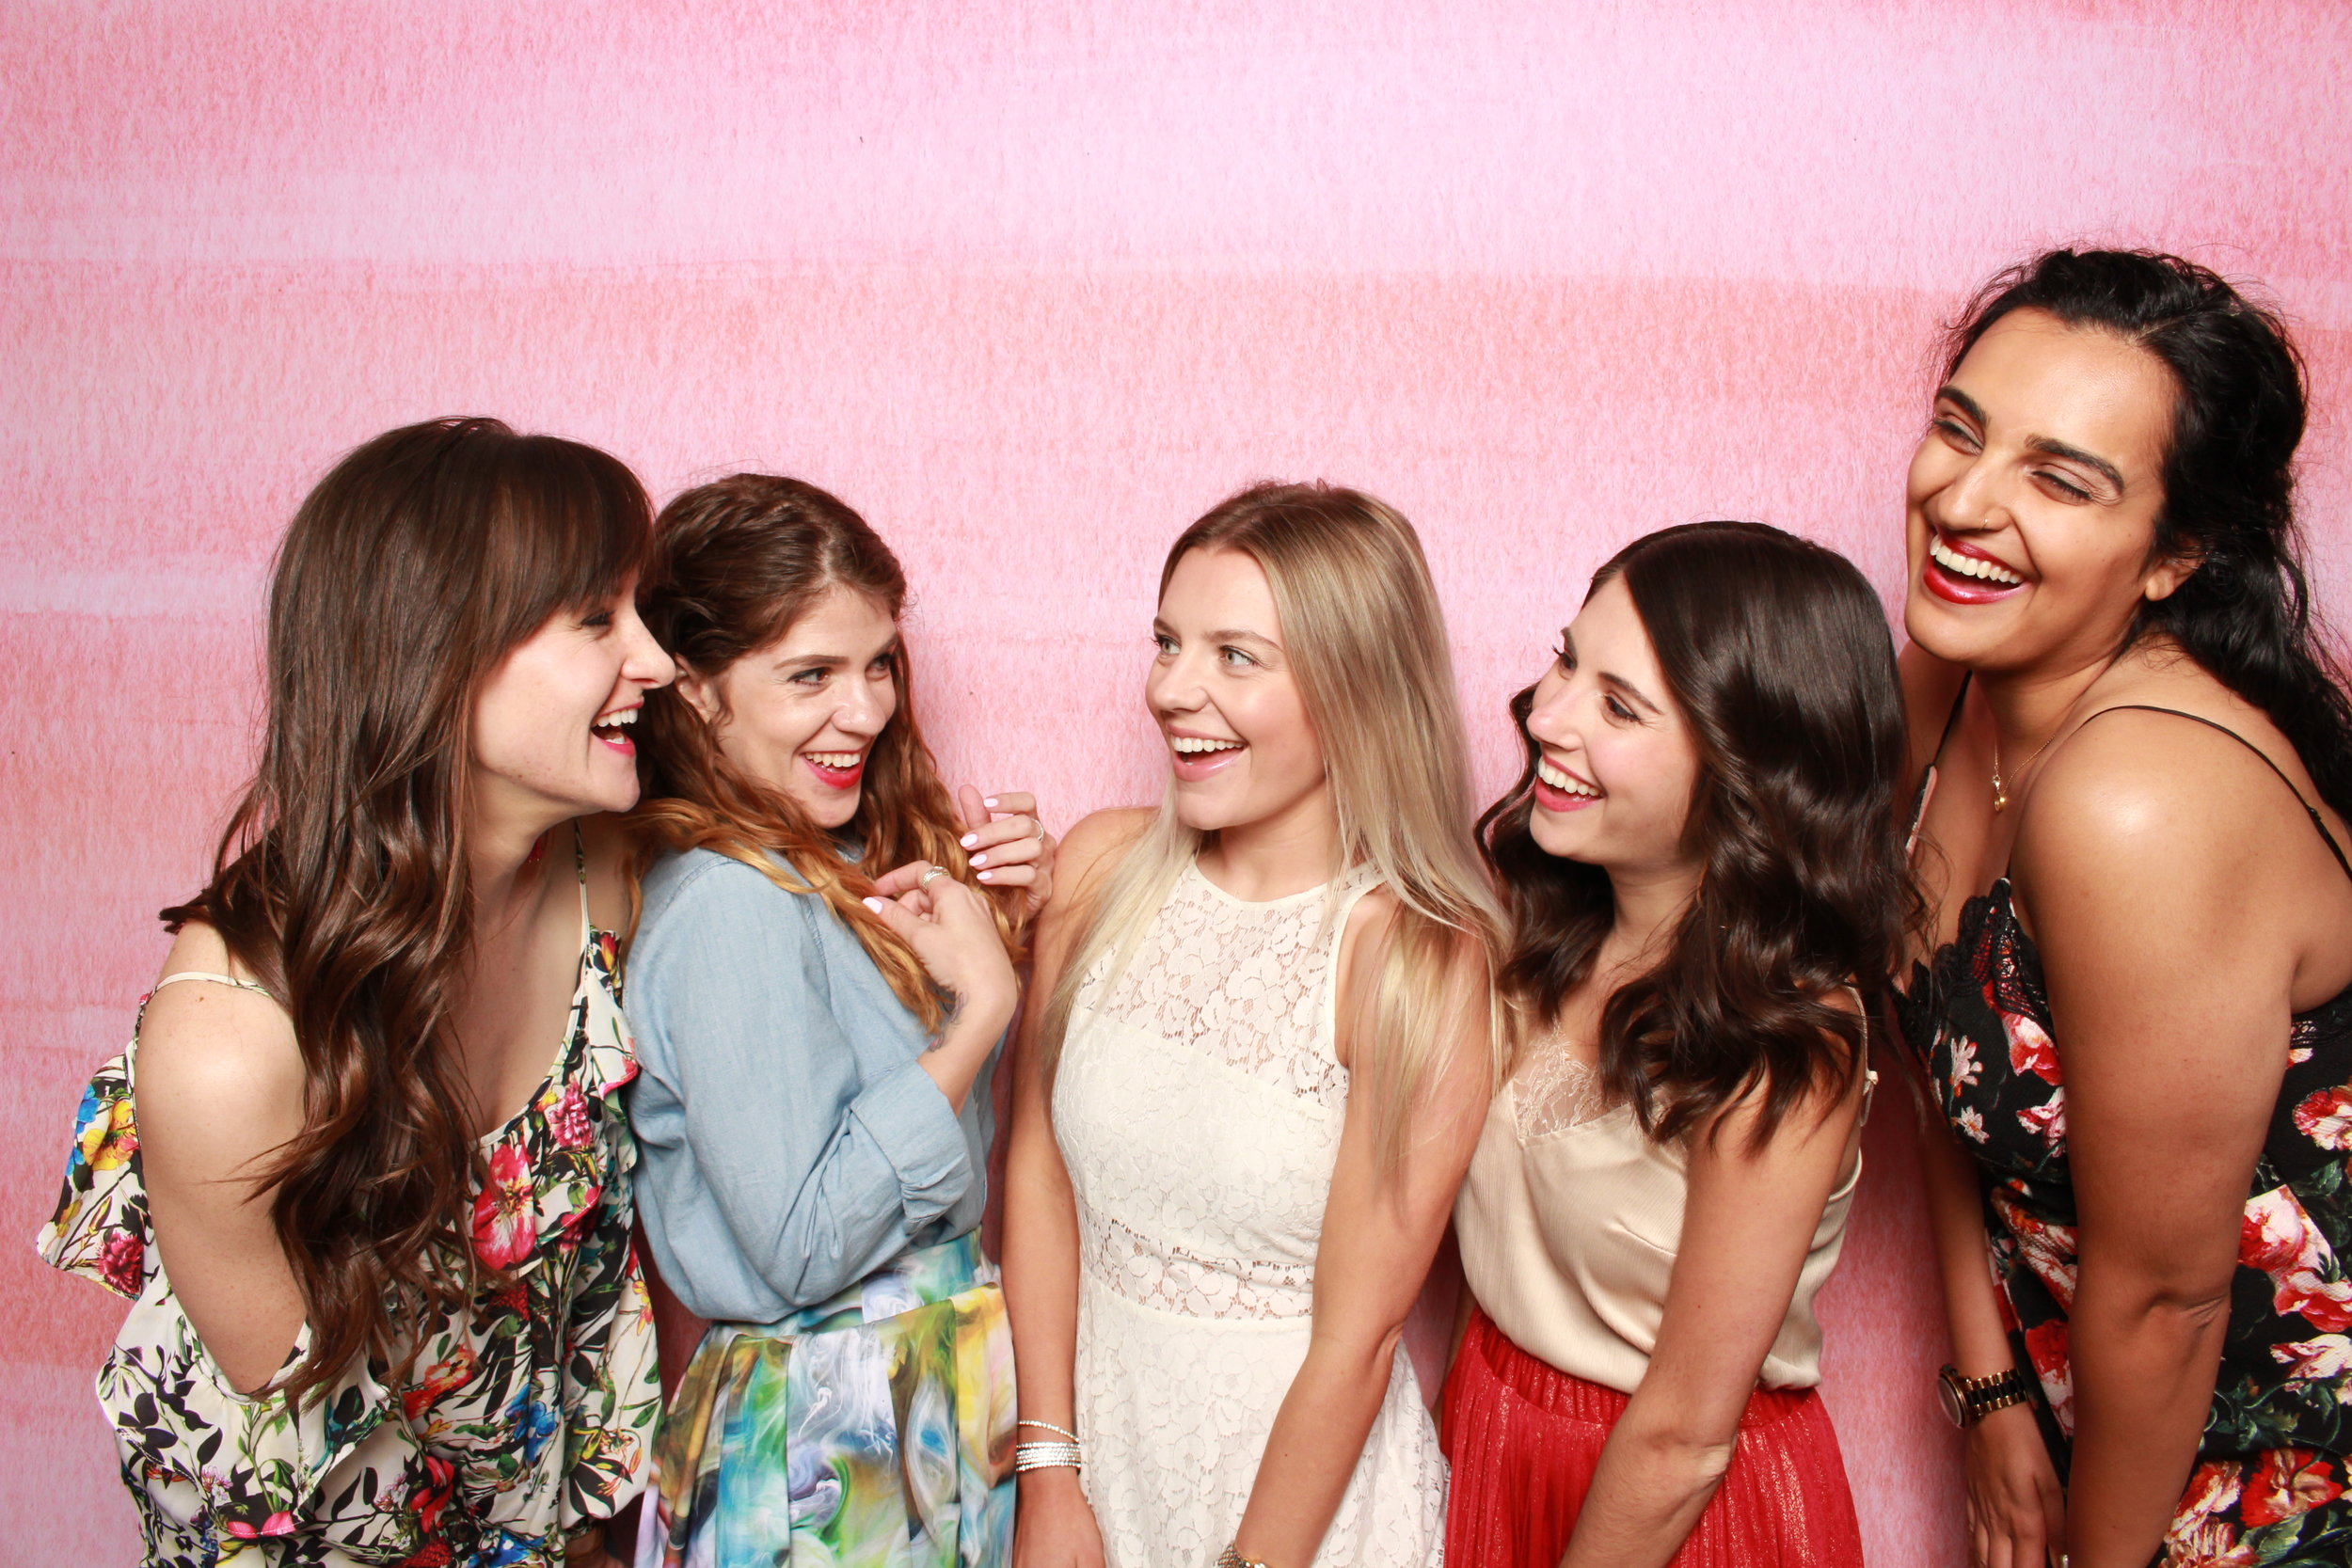
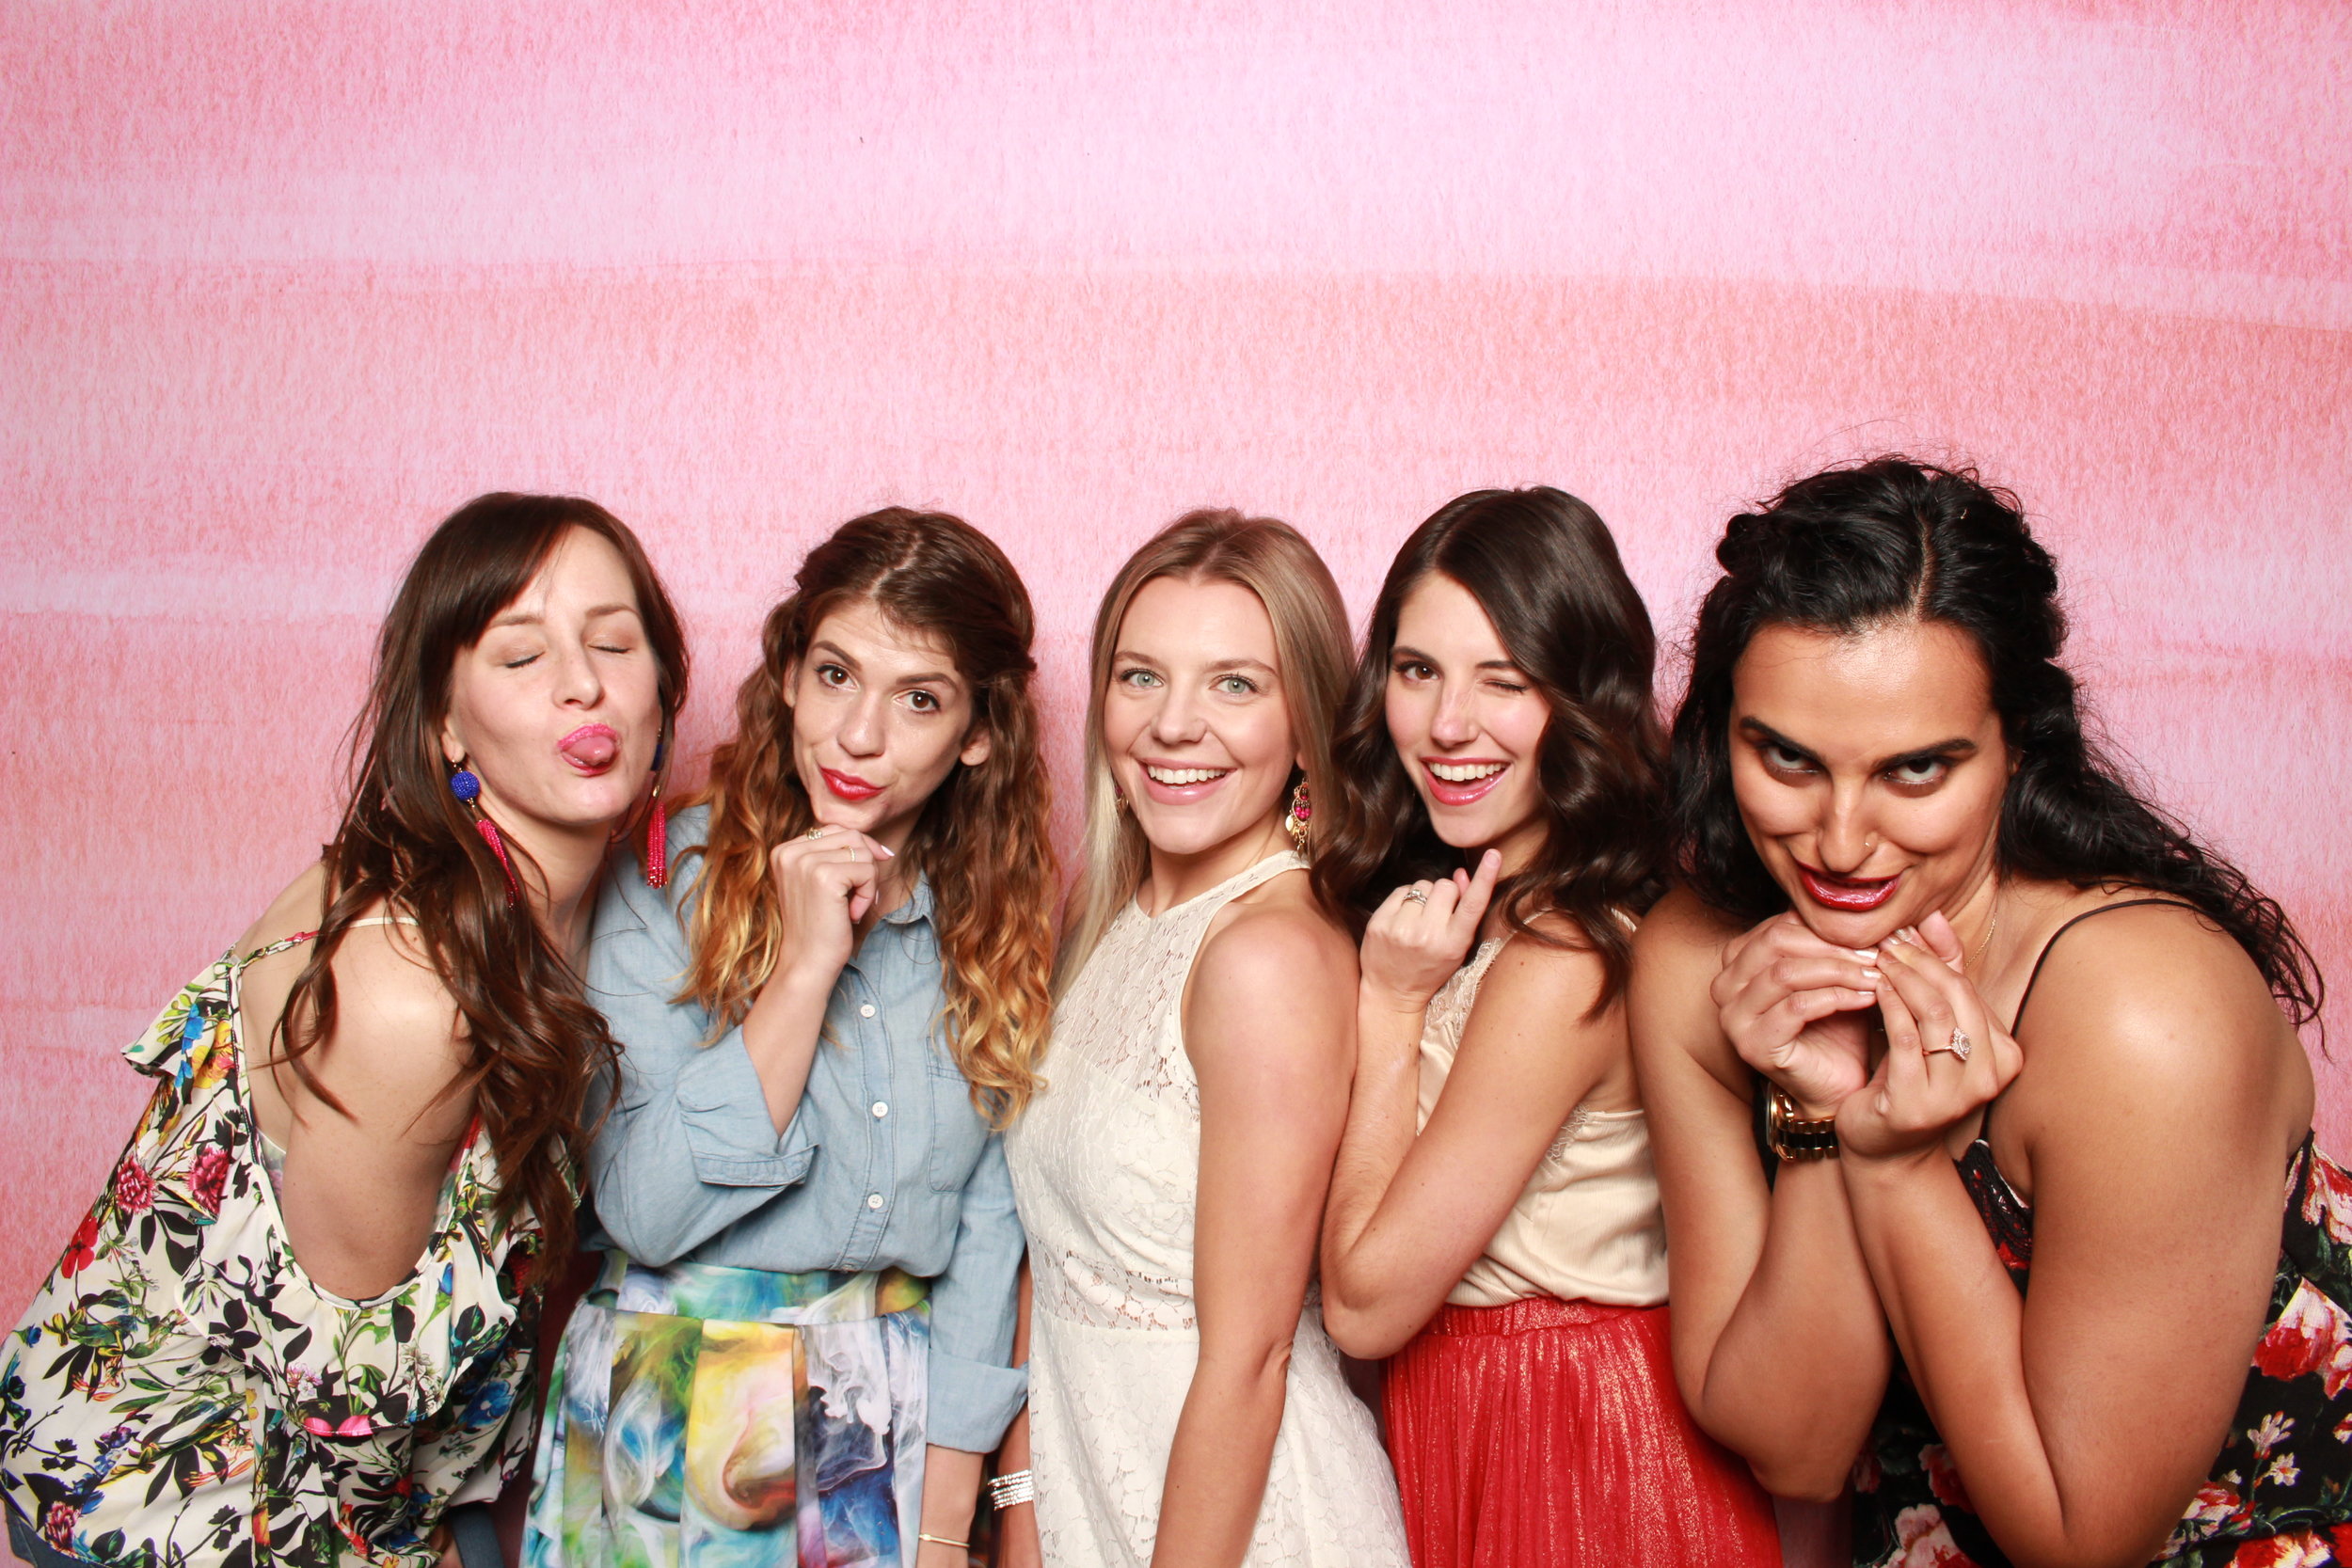
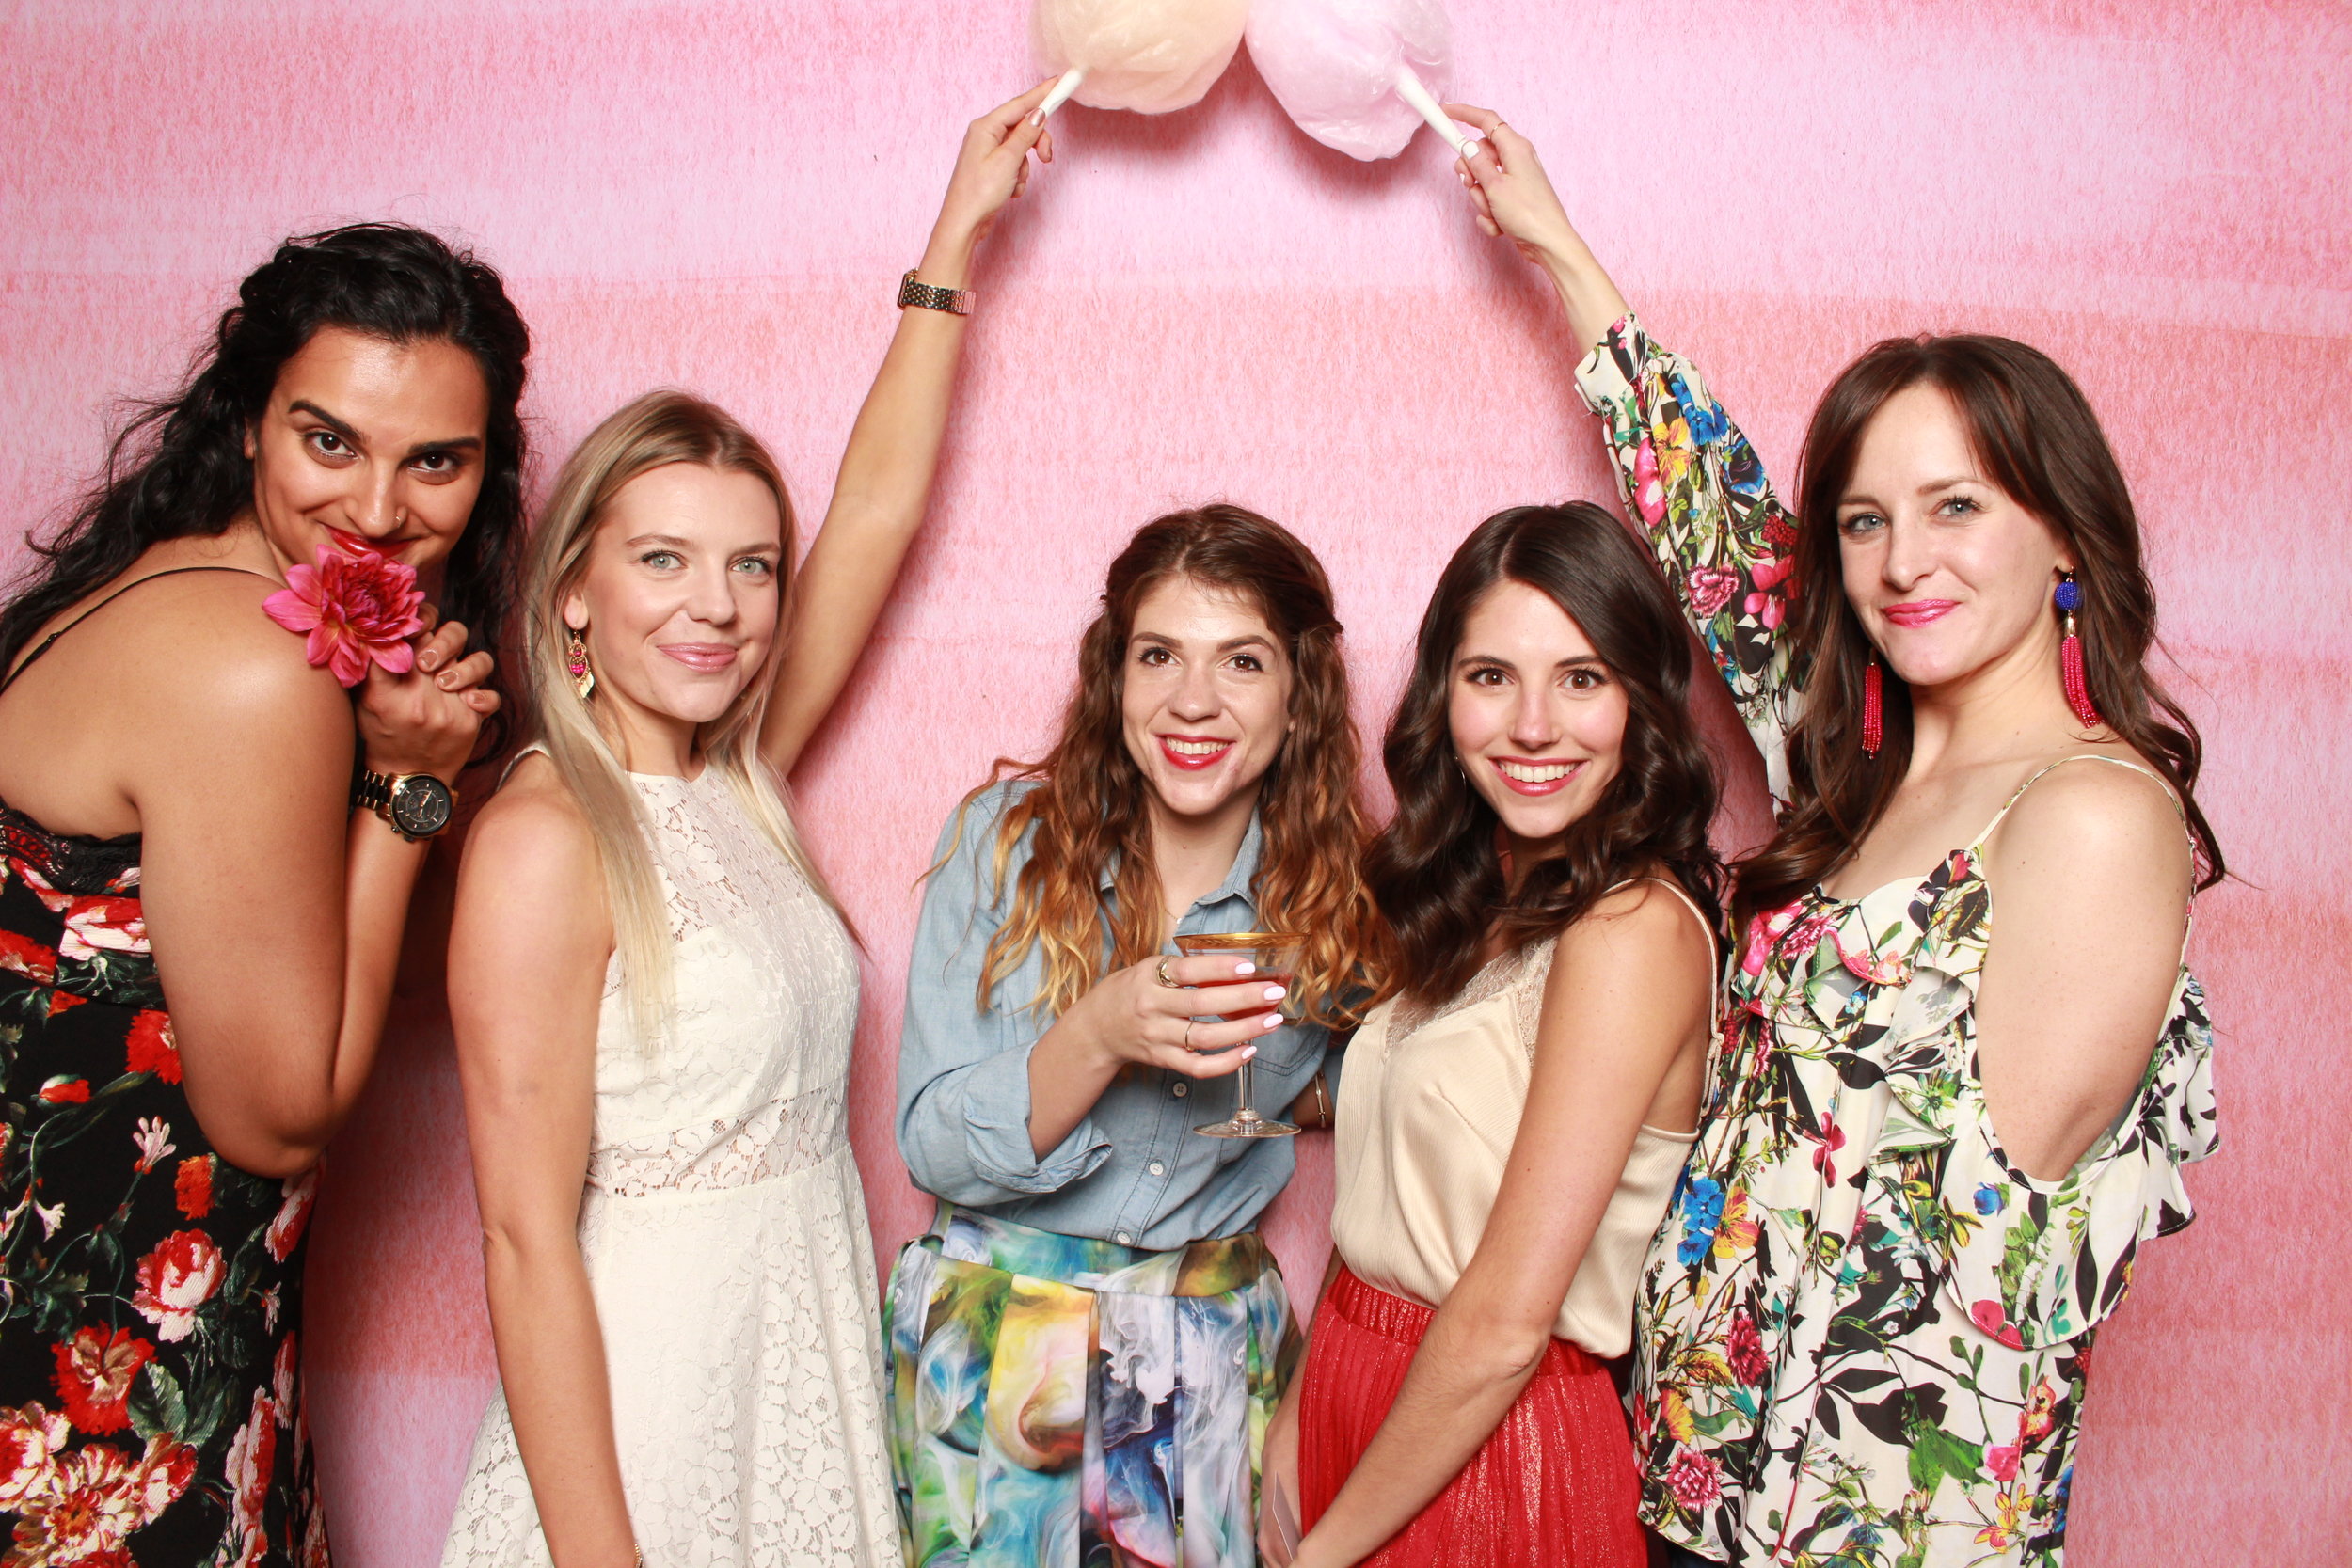
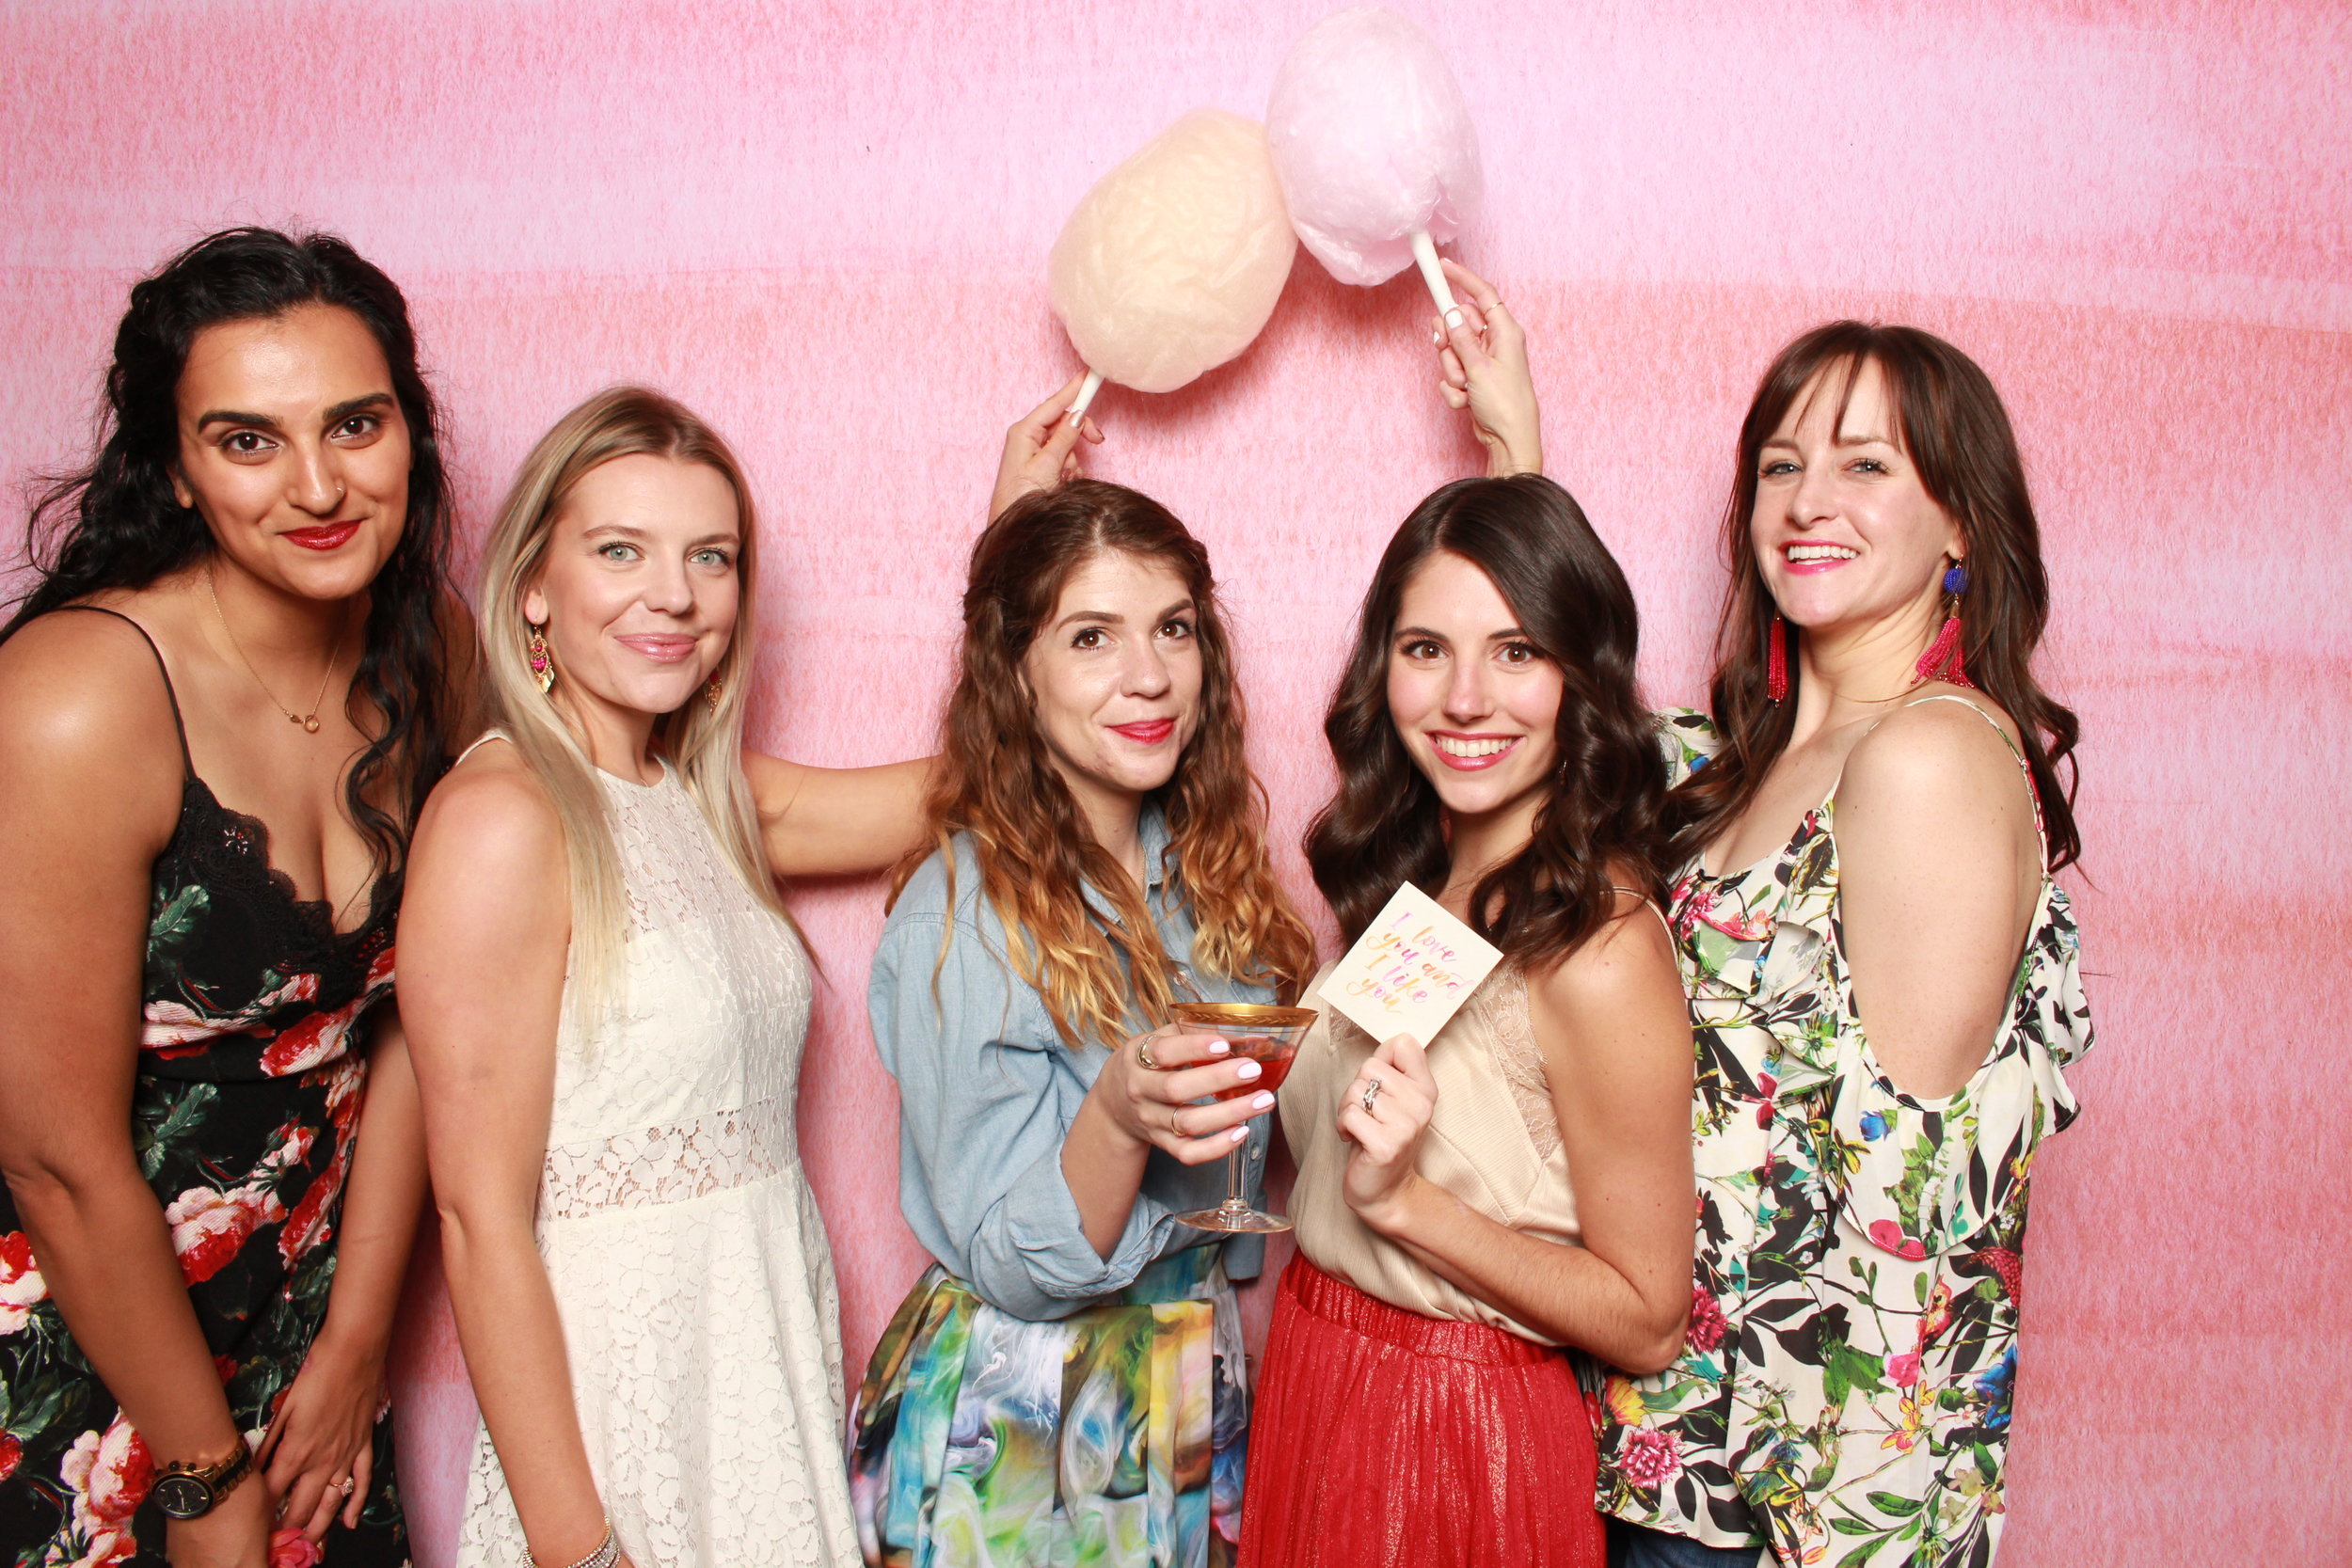
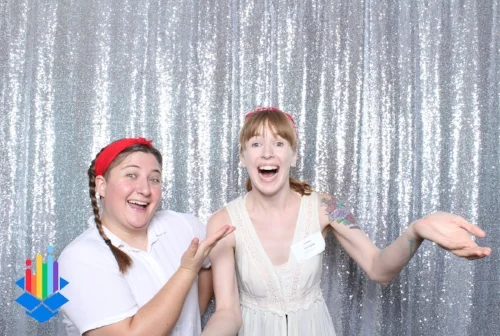
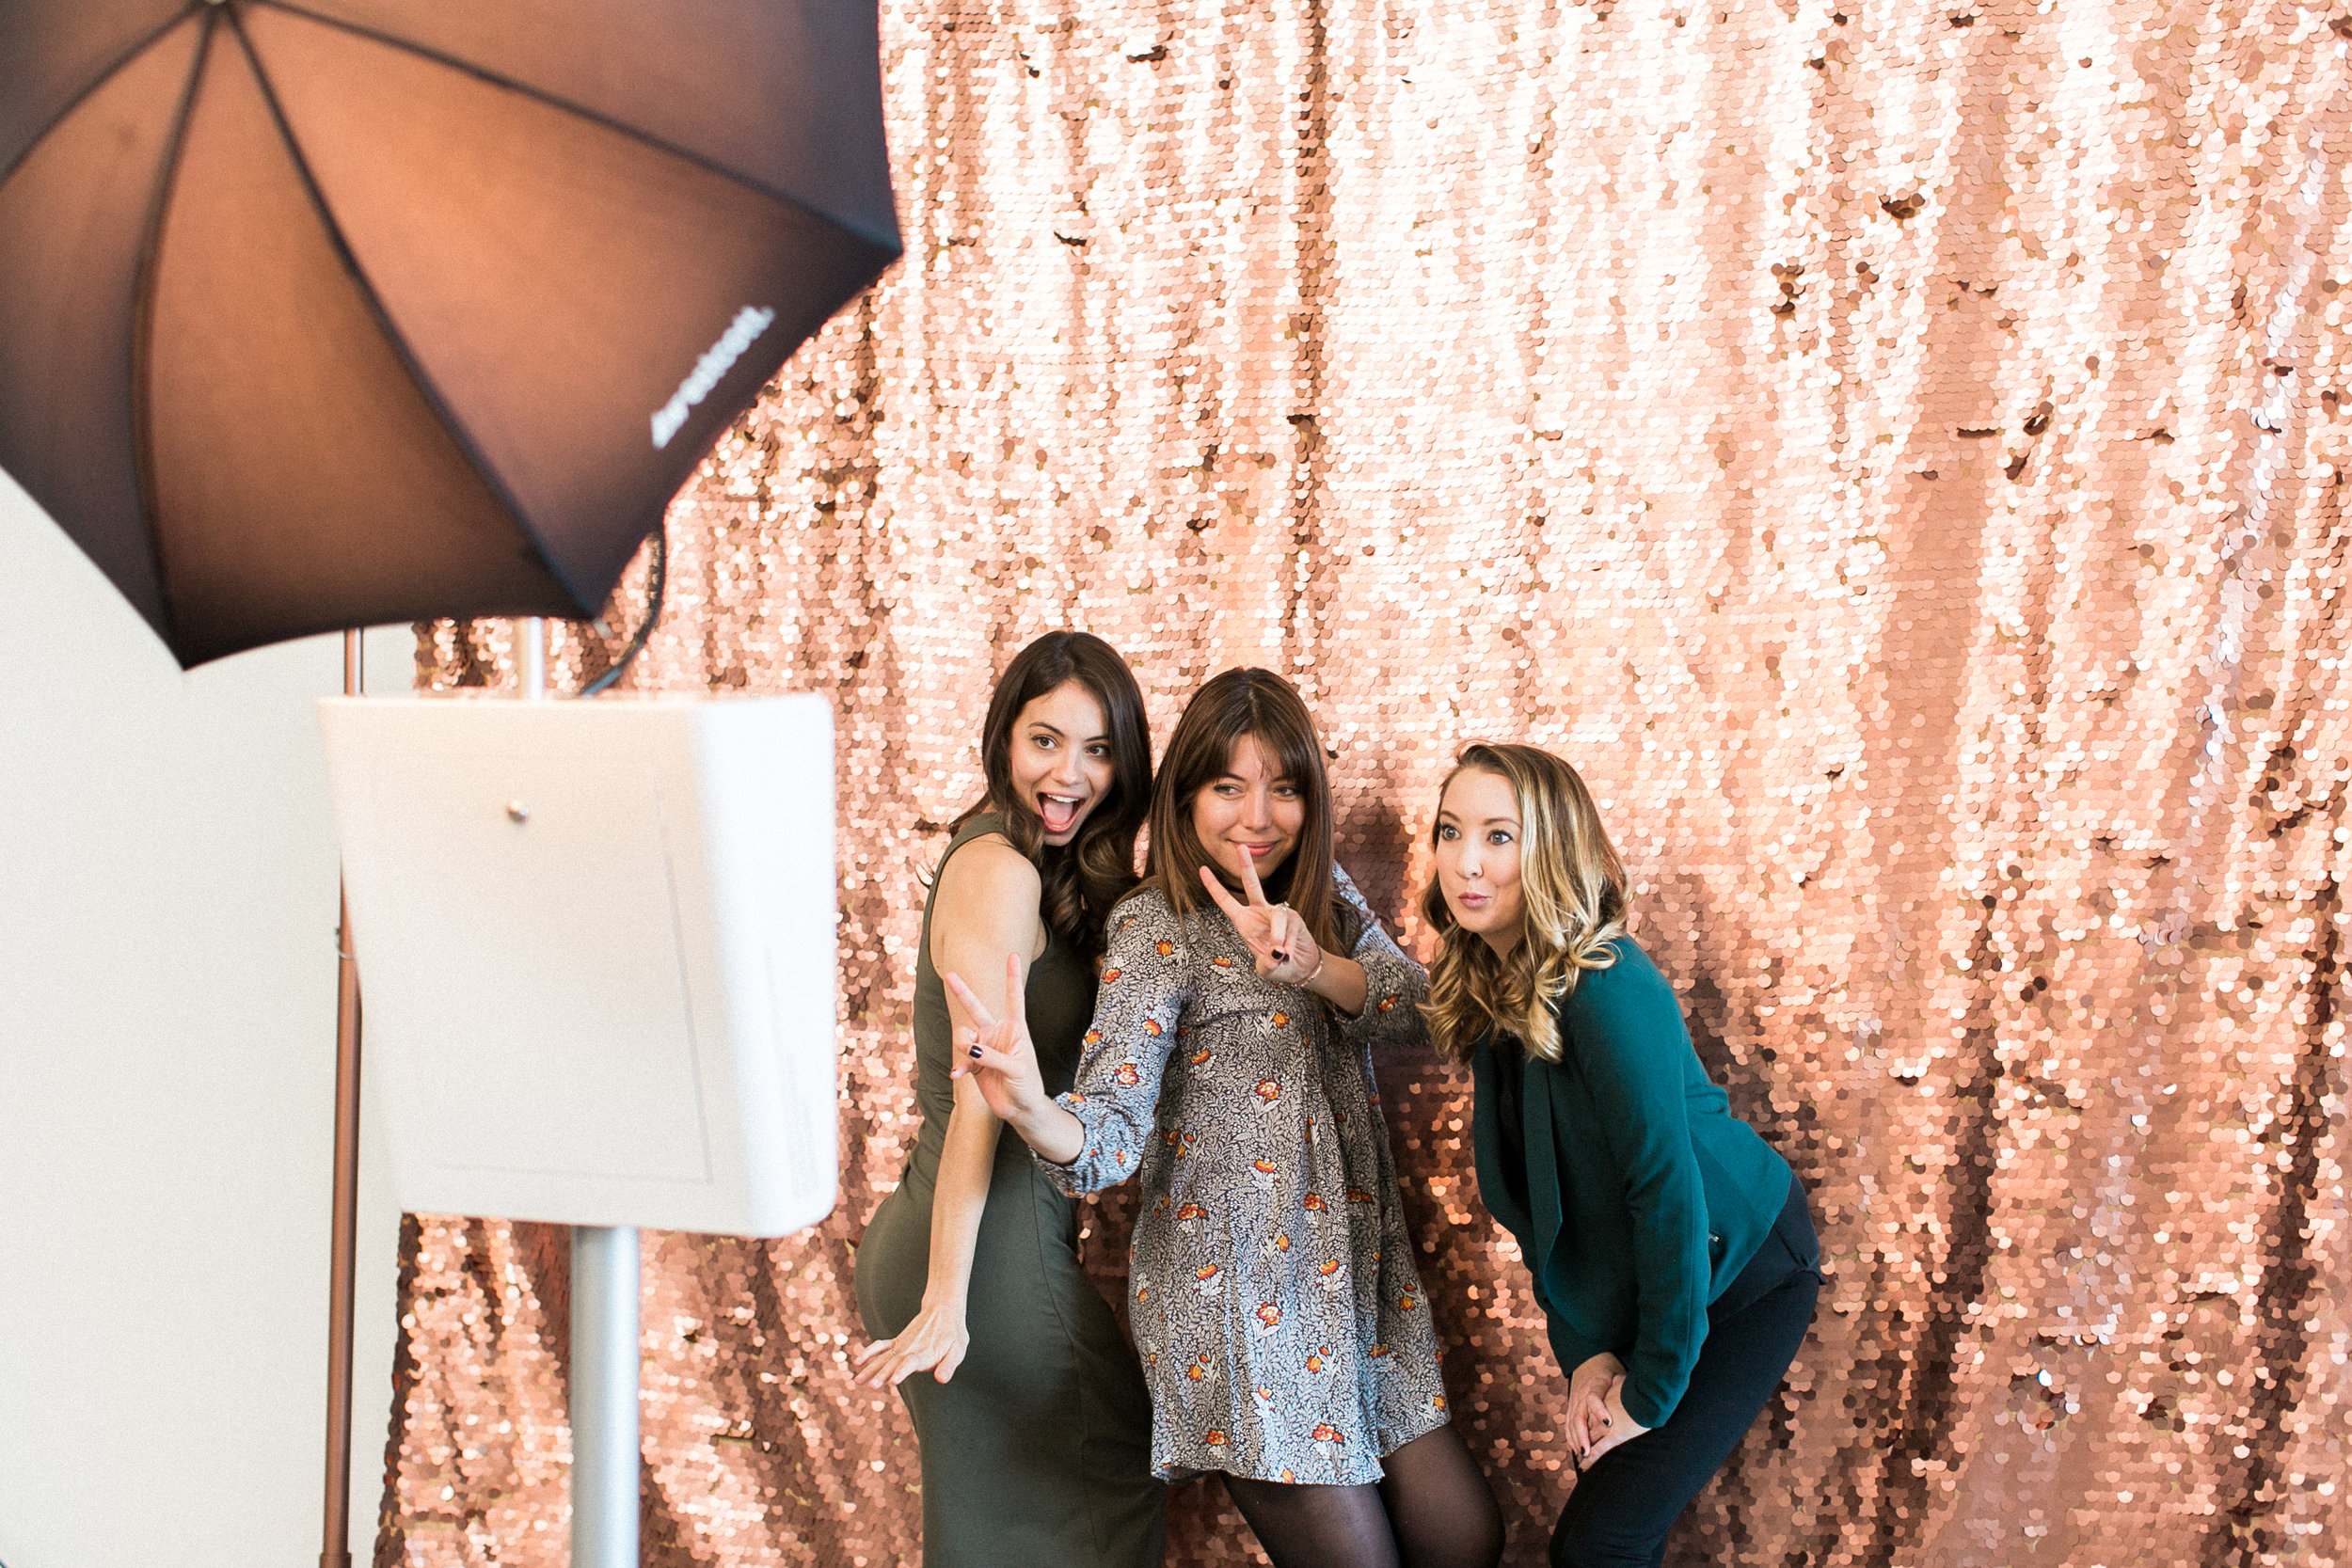
Our team can easily match our photo booth to your vision! We will create an overlay photo design that matches your theme as well as can create a custom backdrop. We want your photo booth to flow with your event and not be an eyesore in the corner of your reception! When you have your mood board built, send it to us as well and we will help to create a cohesive vision for your booth on your big day! To learn more about making your booth fit into your wedding theme, reach out to our sales team an email at kati@ohhappydaybooth.com.

Ma Maison Open House | Best Austin Photo Booth

Fun and Flirty Galentine's Brunch Styled Shoot | Austin Photo Booth

We are so excited to share some fun photo booth images from this styled shoot we did for Galentine's Day! We have an unhealthy obsession with Parks and Rec and just knew we needed to do a brunch shoot this year, and we managed to pull it all together in less than two weeks with lots of help from some amazing vendors. We were published on Every Last Detail blog as well, so check out their post for some gorgeous photos from Kiera Jane Photography! 

VENDORS WHO MADE IT ALL HAPPEN…
Venue: Pecan Springs Ranch  // Planning: Sweet Laurel Weddings & Events  // Photography: Kiera Jane of France Photographers // Floral Design: Fine Feather Florals // Photobooth: Oh Happy Day Booth // By His Grace // Cakes: Feathers and Frosting // Baked Goods: Root Cellar Bakery // Catering: Red Book ChefFancy Fluff,  Champagne Supply CompanyBirch and Brass // Models/Bloggers: So Much Life BlogStrut and StruggleLittle Bitty in the City , ATX Eats & TreatsBig World Small Girl Struggle

Predicting the Trend: Fall Jewel Tones

A guest post by Pearl Events


It’s been a long hot summer, and we’re ready to trade our floppy hats and sandals for cozy sweaters and nights around the bonfire! This season, we’re excited to work with some of our favorite fall jewel tones. Here are some tips on how to incorporate these trendy shades into your wedding day décor!

1.     Stationery

Welcome your guests with a richly colored invite! Flat matte cardstocks look elegant and presentable. Accent these dark backgrounds with metallic copper or gold script and add a signature monogram or image to personalize your stationery.

Courtesy of Jake Holt Photography

Courtesy of Jake Holt Photography

2.     Bridal Party

A bold way to introduce color is through the bridal party. Groomsmen may wear your chosen shade on a bowtie, necktie, boutonniere, or even suspenders and socks for a subtler touch of color.Bridesmaids may make a more striking statement donning full length jewel toned gowns, or keep it understated with a statement shoe or hairpiece.

Courtesy of Mint Photography

Courtesy of Mint Photography

Courtesy of Loft Photography

Courtesy of Loft Photography

3.     Florals

Our favorite!! Work with your florist to design custom florals that incorporate your favorite fall hues. They’ll know just what colors to pair to create designs that are uniquely yours.

4.     Cake

Use your cake – the perfect blank canvas – to compliment your jewel toned color palette with wooden accents or touches of copper or gold.

Courtesy of You Are My True

Courtesy of You Are My True

5.     Favors

Finally, send your guests home with a unique and personalized keepsake from your special day!

Courtesy of You Are My True

Courtesy of You Are My True


We'd like to thank Pearl Events for collecting some really great tips on how to incorporate jewel tones into a wedding! We completely agree that these hues will likely be extremely popular this season and we can't wait to see it in action. Of course, if you're looking for a way to incorporate your photo booth into this color scheme, we suggest pulling these shades into your print design, and picking a really great backdrop that will match the aesthetics of your reception as well. We're anticipating our gold, dark grey and white backdrops to be in heavy rotation this fall if lots of couples are choosing this color palette! 

How to prepare for a top-notch photo booth experience | Best Austin Photo Booth

best austin photo booth

We've seen it all...

After being around the block a few times, we've encountered just about every obstacle there is when it comes to surprise set up locations at events. To prevent these instances from happening twice, we do our best to make sure brides, planners and all other clients know what it takes for a great photo booth experience at their event! 

Here is what our photo booth requires for our signature top-notch experience!

  1. Put the photo booth in an obvious location. Too many times we've seen clients place us outside of the main event hall. If guests can't see us, we're out of sight and out of mind, which just plain stinks! Just in case you're worried about us being distracting during speeches or dances, we make it a point to temporarily stop the photo booth during those times (and turn off our light) so we're not taking attention away from the special moment! 
  2. Acessibility. Make sure the route we'll need to take to get to the set up space is wheelchair accessible. Until someone creates an affordable, futuristic,  stair-climbing rolling cart for all of our gear, we prefer elevators and wheelchair ramps. Plus, you want to make sure any disabled guests can access the photo booth once we're up and running! If our only option is a non-wheelchair accessible route, we can make it happen, but there is a small fee that will need to be added to the invoice.
  3. Space requirements.  We need a space that is at least 6’ long by 9’ wide by 10' high, but a 10'x10'x10' space is ideal! Make sure to leave space for a line as well.
  4. Power. We need a wall outlet (110V, 10 amps, 3 prong outlet) that is dedicated for the photo booth. Sharing an outlet with a bunch of other things like the DJ or lighting can sometimes overpower the plug, but we have a 20 foot extension cord that can help us reach a far away outlet if needed.
  5. Place the photo booth indoors. Austin weather is unpredictable, and who wants to go outside and get all sweaty just to take a photo? Be proactive and carve out a space for us inside your event hall so weather is never an issue! If your only option is to put the photo booth outside, we can be placed on concrete under an awning, like a porch, or under a 10x10 tent with three tarp walls to protect the backdrop from wind. Also, if you're feeling a bit generous, a portable a/c unit or fan will keep our attendant happy and energized to entertain your guests!  The photo booth may not be placed on grass or wet ground. 
  6. Keep the photo booth away from sunlight. Sunlight shining on the photo booth creates harsh shadows on the guests taking photos (not to mention it causes squinty eyes!), but also be wary of putting the backdrop against a window during daylight hours since the light might shine through the backdrop.  On the subject of light, make sure there aren't any pot lights or chandeliers right above the photo booth. Those sometimes cause crazy shadows! If there is a light above the photo booth, it can either be turned off or the lightbulb can be sneakily unscrewed and then replaced after the event!
  7. Provide a 6-foot table with a linen that matches the rest of your event decor. We highly encourage all our clients to do this because it makes the photo booth look like it actually belongs at your event, and is not just an afterthought stuck in the corner. We also like to have at least one separate cocktail table to place near the photo booth, so guests have a spot to set their drinks while they cheese it up in the booth! If you want to make the space look really luxurious, repurpose a floral arrangement from your ceremony and place it on a corner of the table near the photo booth, or create a special sign that says "Photo Booth" or one that has your event hashtag on it. 

That may seem like a lot, but at most of the Austin venues we've encountered, there are usually a handful of set up options. If you're struggling with how the photo booth will work in your space, shoot us an email and we'll be happy to explain what we've done at your venue before!

National Ice Cream Day

I scream, you scream, we all scream for ice cream! National Ice Cream Day is coming up this Sunday so it was only natural for our team to celebrate a little early before this crazy weekend of events begins. We took this holiday as an excuse to step away from the photo booth for the afternoon to visit three ice cream shops in one day (you may call it dairy overload, we call it heaven) and wanted to share our favorites with you!

Sweet Ritual

austin photo booth rental

The first place we visited was Sweet Ritual. They recently moved from their shared space with Juiceland on Duval to Airport Boulevard. We ordered the special Unicorn Poop flavor, which has colorful sprinkles and crushed skittles for an added crunch. Rest assured, the employee informed us only free-range grass fed unicorns are used in the making of this confection. It’s safe to say this was our first time asking for a “scoop of poop,” but will not be our last. Also, how fun are the colorful Birthday Cake cones?


Amy's Ice Cream

It's no secret that Amy’s Ice Cream is loved by many Austinites. The fun interior matches the eclectic vibe to which Austin stays true and Amy's always has the most welcoming employees. We ordered the seasonal Dreamsicle flavor and was swept away from the first bite! The subtle fruity flavor took us back to our childhood days. They even have an ongoing contest where they write out a famous movie quote, and if you can guess which movie it is from, get a free "crush'n" (crushed topping) in your ice cream! Stop by, grab a scoop (or two), and snap a photo in their old school photo booth!


LICK Honest Ice Creams

georgetown photo booth

They say, "honesty is the best policy," and our visit to LICK Honest Ice Creams was nothing less than amazing! It was our first time and it was truly love at first bite. Not only were their flavors the most unique, they are all made of organic, local ingredients that can be traced to their source. We take pride in our local businesses here in Austin and it's good to see it in action! Although we enjoyed their Lemonade Pound Cake and Hill Country Honey & Vanilla Bean flavors, we both agreed that their Coffee with Cream was the best. Make sure to ask for one of their delicious homemade waffle cones or bowls!

Our first time coming across LICK Honest Ice Creams was actually at an event we did with Dropbox, where LICK was catering! We even got a photo of some of the LICK girls ! 

austin photo booth rental
 

Where will you be heading to this Sunday to celebrate National Ice Cream Day? We'd love to know in the comments below!

Creating a great event hashtag

Importance of developing an event hashtag

Regardless of the type of event you’re hosting, a hashtag can be useful for compiling photos and interacting with guests before, during and after an event! For corporate events, an event hashtag not only allows the attendants to look back on the event, but it creates online visibility and is a lucrative way to engage guests. Event hashtags, when used properly, create a digital presence and attraction to your brand or company. For weddings, using a specified hashtag means guests can see photos of themselves that might’ve gone untagged or missed without the event hashtag. Most importantly, this allows the bride and groom to look back on the event and relive all the fun memories from one of the best days of their lives.

Here are a few ideas on how you can get started on creating a unique one for your event!

austin photo booth

How to develop a hashtag for a corporate event or fundraiser


1. Keep it short. Simplicity is key.

Your hashtag should be as short as possible and take up as few characters as possible. If your guests will be posting on Twitter, the last thing you want to do is take up too many of their limited 140 characters! Abbreviate event names that are long. For example, Austin music festival Blues on the Green uses the hashtag #botg, as opposed to #BluesOnTheGreen, which is pretty long. Keeping it simple also means fewer people will forget exactly what your hashtag is. If they can’t remember, they won’t use it.
 

2.  Use the event's name and location.

If the convention name is BeautyCon, using #beautyconLA may be more effective than simply #beautycon.


3. Include the year for annual events.

If creating a post for an event that occurs annually, including the year to specify which year is attended - for example, using #beautycon2017 or #beautycon17.
 

4. Make sure to determine a good event hashtag well in advance.

Once it has been created, start using it yourself as an organizer and notify your audience about it. For example, runners who are training for the Austin Marathon in 2018 can use the hashtag #austinmarathon2018 when posting a photo of them training in the months leading up to the race. There is great power in promoting a hashtag before an event, especially if the goal is to encourage participation from the public.
 

5. Consistency.

For annual events, having a consistent hashtag every year also allows the participants to refer back to previous years’ photos by simply changing the year at the end of the hashtag.

Photo by Pine and Blossom

How to develop a hashtag for a wedding

Wedding hashtags have recently become increasingly popular, so it is important for your hashtag to be unique. After all, you don’t want to see photos from a random wedding that isn’t yours showing up under your wedding hashtag feed! Here are a few tips on creating a hashtag that is personal and specific to your big day.

 
1. Make the hashtag easy for guests to remember.

Wedding hashtags that have a play on words may be easier for guests to remember. Consider mashing your names together or focusing on the last name if you plan on sharing a surname after you’re married. Puns are always welcomed (and totally encouraged, if you ask us!).

For example, one of our recent wedding clients’ new last name is Newberry, and their hashtag was #TheNewestBerry! We even saw a wedding where the the groom’s surname is Morgan, so they chose the hashtag #ILoveYouMorganAnything. Get punny, because the funny hashtags are typically the most memorable!
 

 2. Avoid any hashtags that could be potentially misspelled by your guests.

Try shortening any long names or move words around to avoid having two of the same letters next to each other. For example #davidandashley looks much better than #ashleyanddavid.
 

3. Use a hashtag generator.
If you're having trouble coming up with an original hashtag, try checking out a hashtag generator to get started. Sometimes it’ll get your creative juices flowing and help you come up with something unique.
  

4. Get the word out about your hashtag.
If a hashtag for the wedding has been created before the couple walks down the aisle, use it on photos of the couple engaged. If you are the one walking down the aisle, consider using it when snapping a photo of you dress shopping or wedding planning. Put it on your save-the-date and your wedding website and get the word out!

We hope these tips help you create the perfect hashtag for your event. What's your favorite hashtag you've seen so far?

Blush & Blue wedding Inspiration

Something old, something new, something borrowed, and definitely something blue! This may have been last year's Pantone color combo, but we cannot get enough of this beautiful blush and blue color palette! Not only is this perfect for the spring and summer, It will look great in just about any location. There's no denying that we at Oh Happy Day Booth love blush, and our solid blush backdrop would be perfect fit for this wedding décor! What we love most about this color palette is that it is easy to incorporate beautiful details for a romantic, classy and chic wedding!

0
0
1
77
444
Kelsey Butler Photography
3
1
520
14.0


Normal
0


false
false
false

EN-US
JA
X-NONE


 <w:LatentStyles DefLockedState="false" DefUnhideWhenUsed="true"
DefSemiHidden="true" Def…

Flowers on chair: photographed by Alyssa Nikole Photography
Blue bridesmaid’s dress: photographed by Taylor Lord
Blush ring box: photographed by Hannah Mayson Photography
Lounge: Loot Vintage, photographed by Kayla Barker Photography
Tableware: photographed by Troy Grover Photographers
Bridesmaids: photographed by Nic Berrett Photo
Ring: photographed by Charla Storey
Perfume: photographed by Laura Nelson
Backdrop: photographed by  @spostophoto


We can't wait to see what color schemes are popular this year! What is yours?